


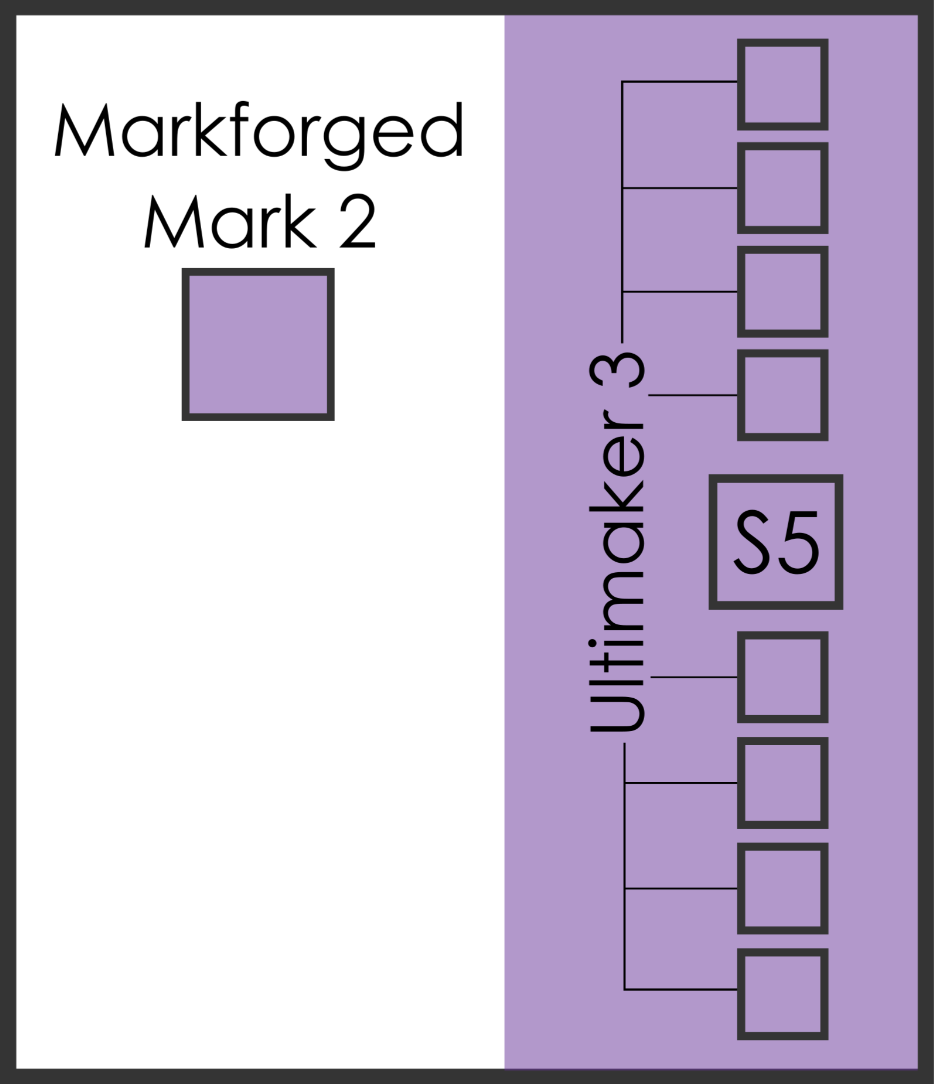
3D Printer (Standard) Map
This page highlights our Fused Deposition Modeling (FDM) printers. The main workhorse of our fleet is the Ultimaker 3, but we have several other FDM printers that are better suited to other tasks.
Markforged Mark 2
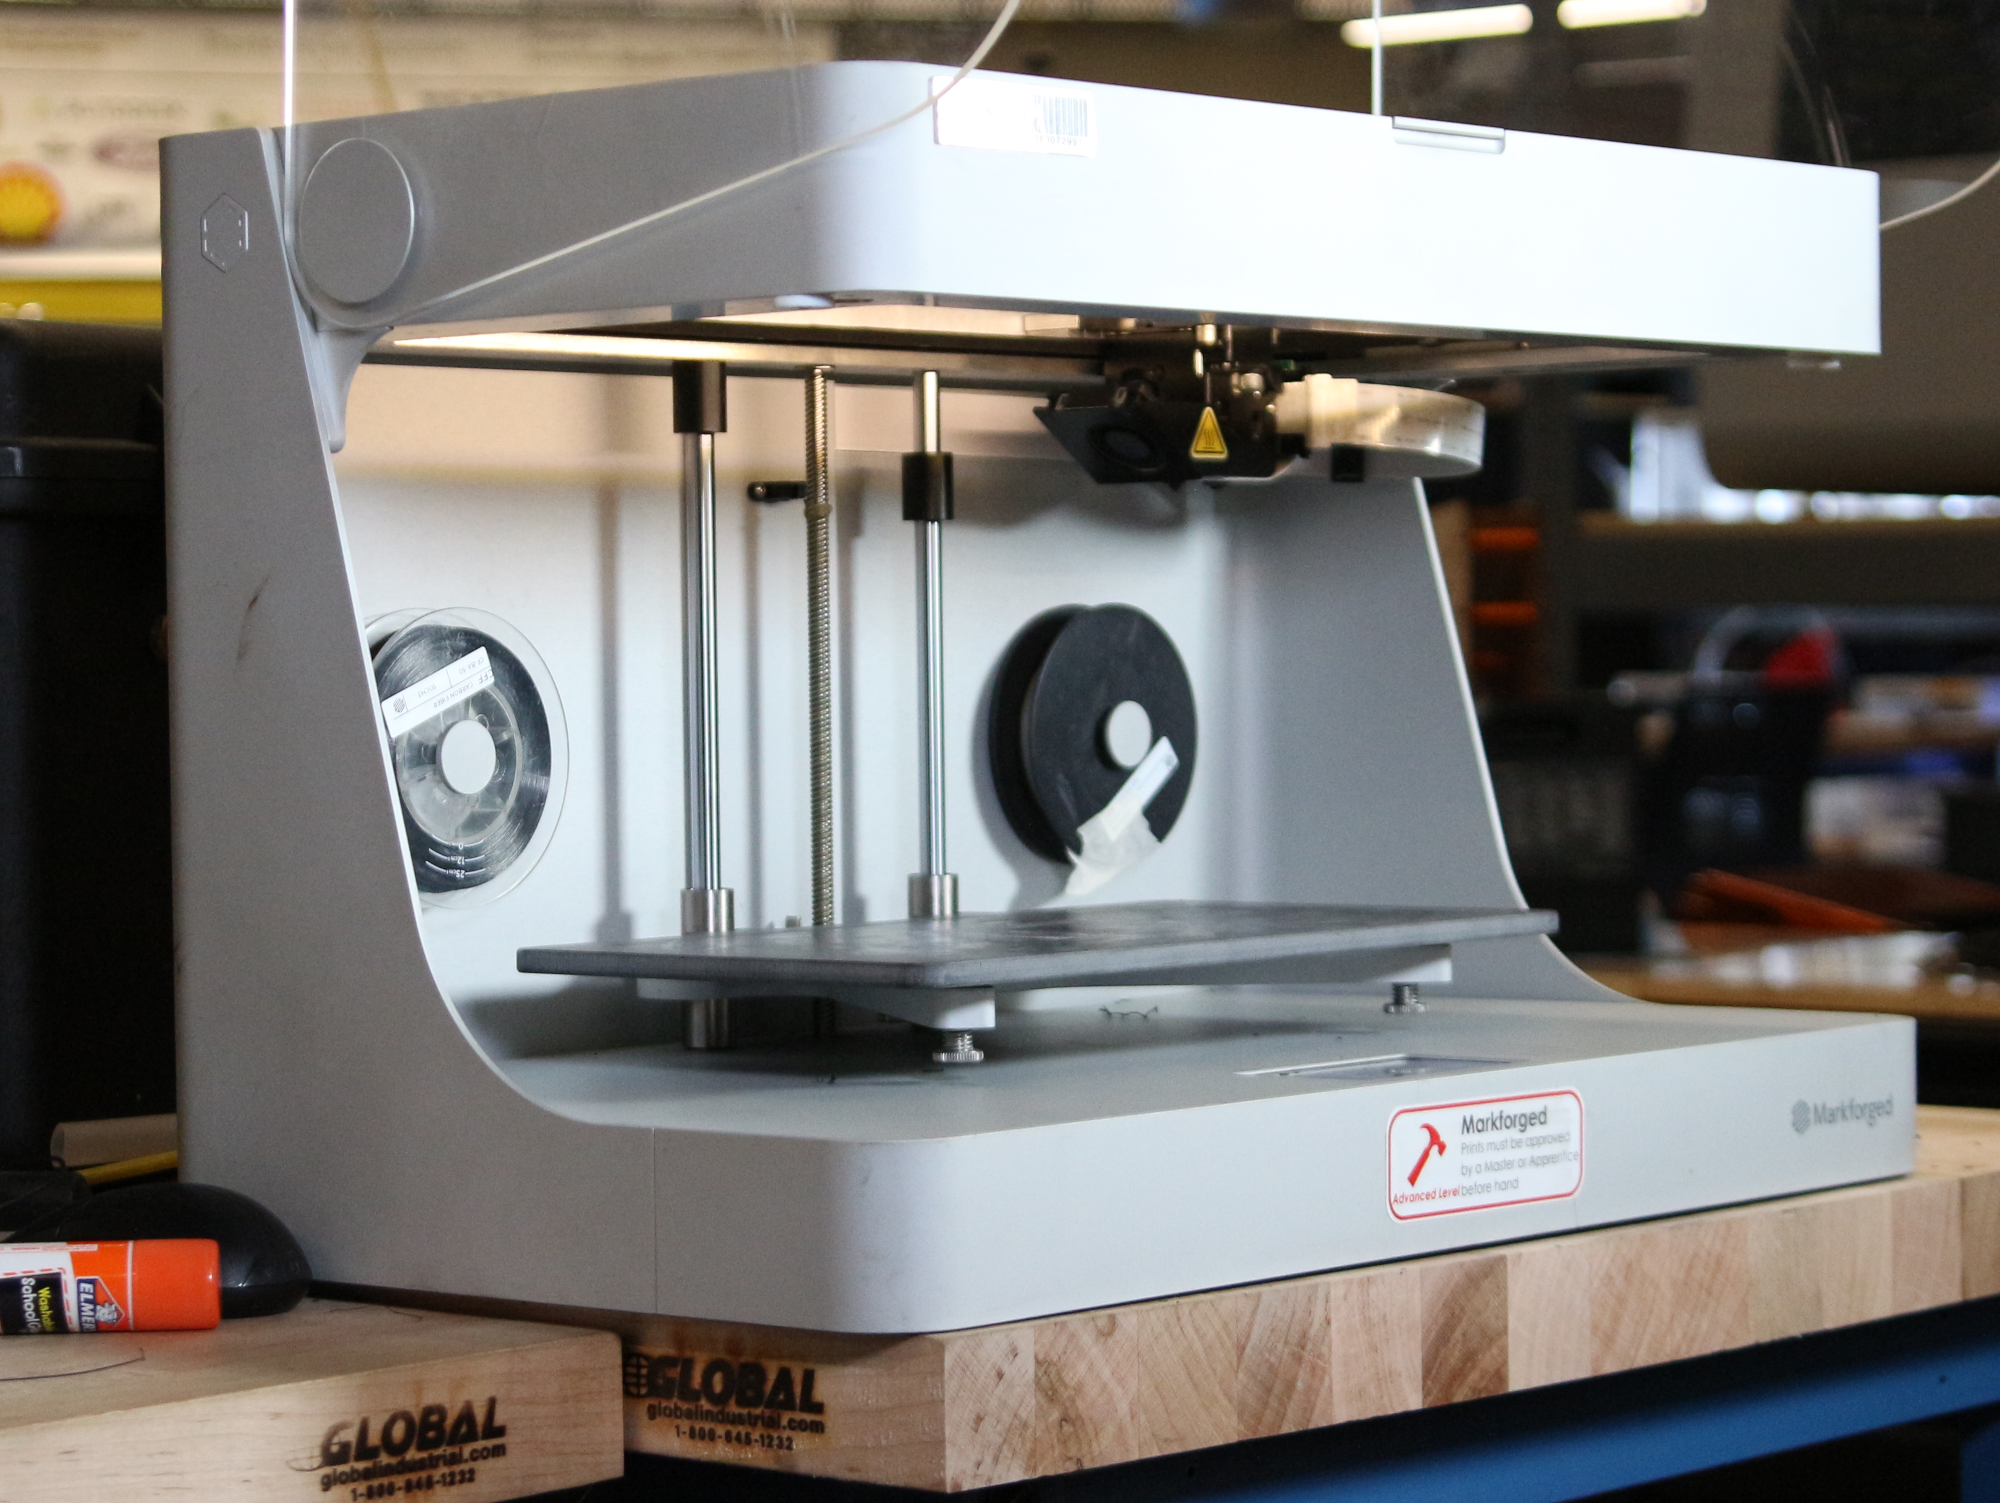
The Markforged Mark 2 is a specialty printer that can print some really cool materials, like continuous carbon fiber strands! Contact the 3D Printer Masters if you need parts in these materials!
Ultimaker 3
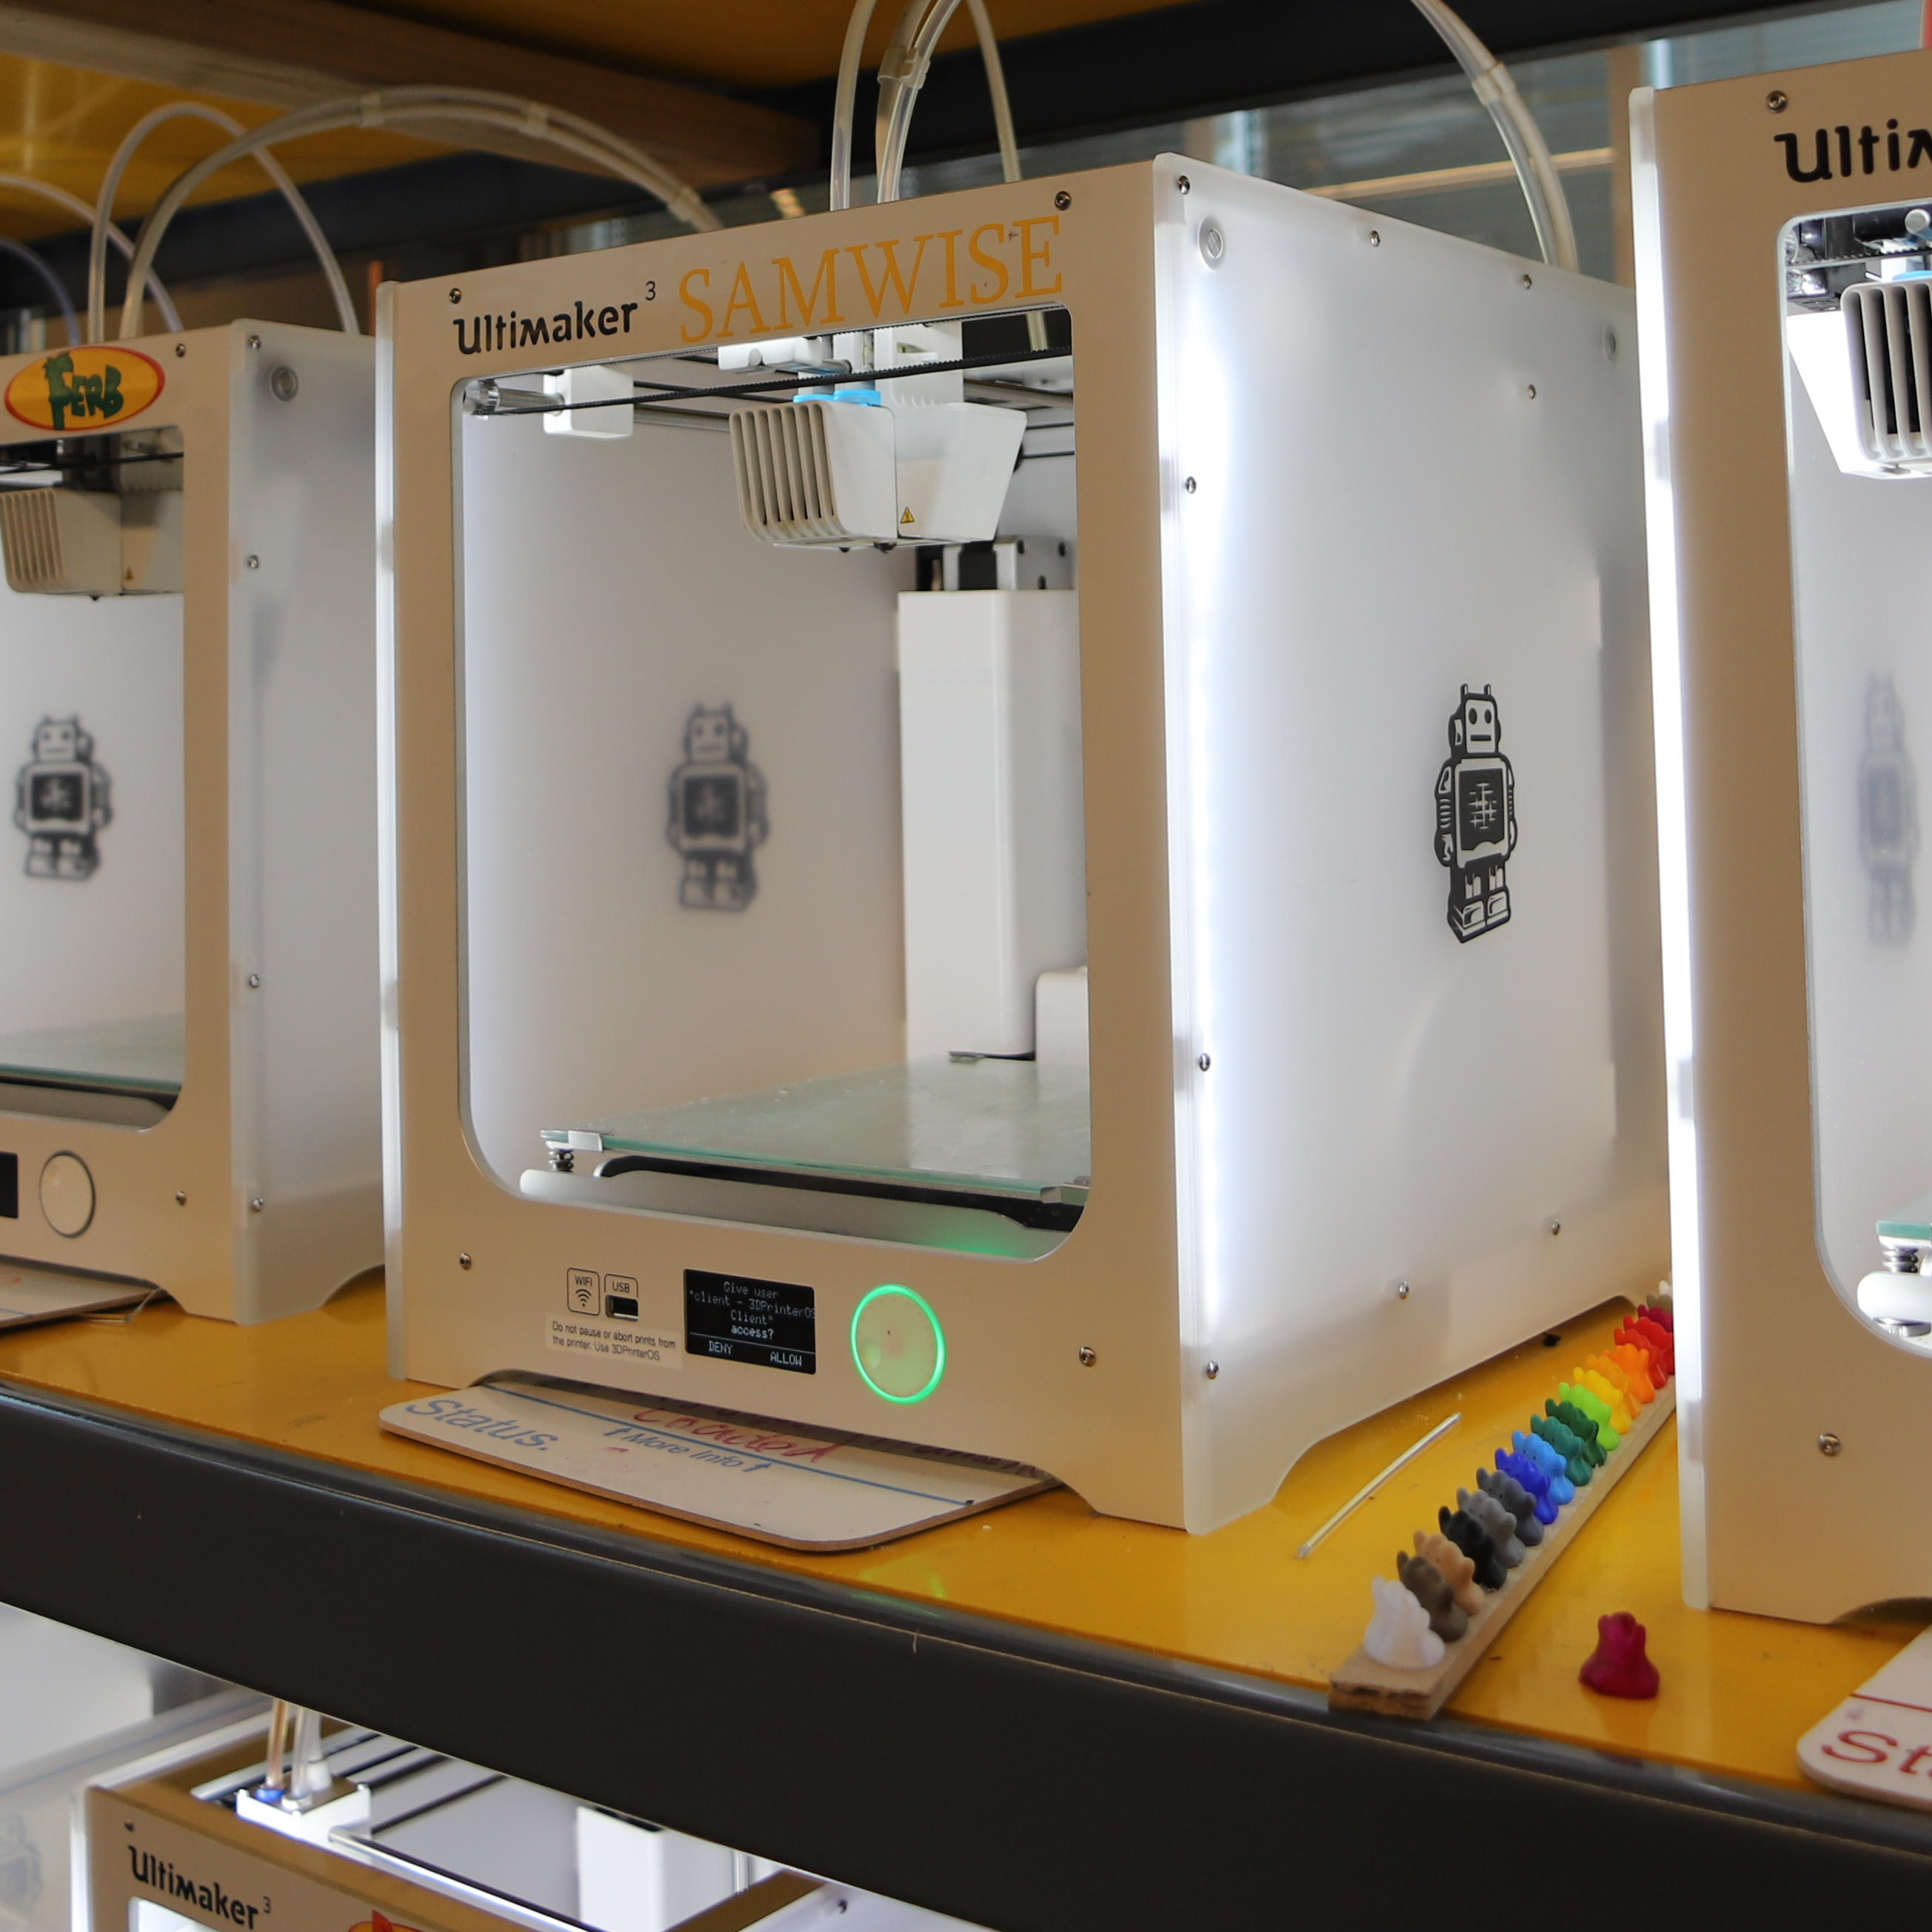
The Ultimaker 3 is the main workhorse of our 3D Printer fleet! It has dual nozzles which allows for easy 2-color prints, or printing dissolvable PVA supports on your parts.
Ultimaker S5
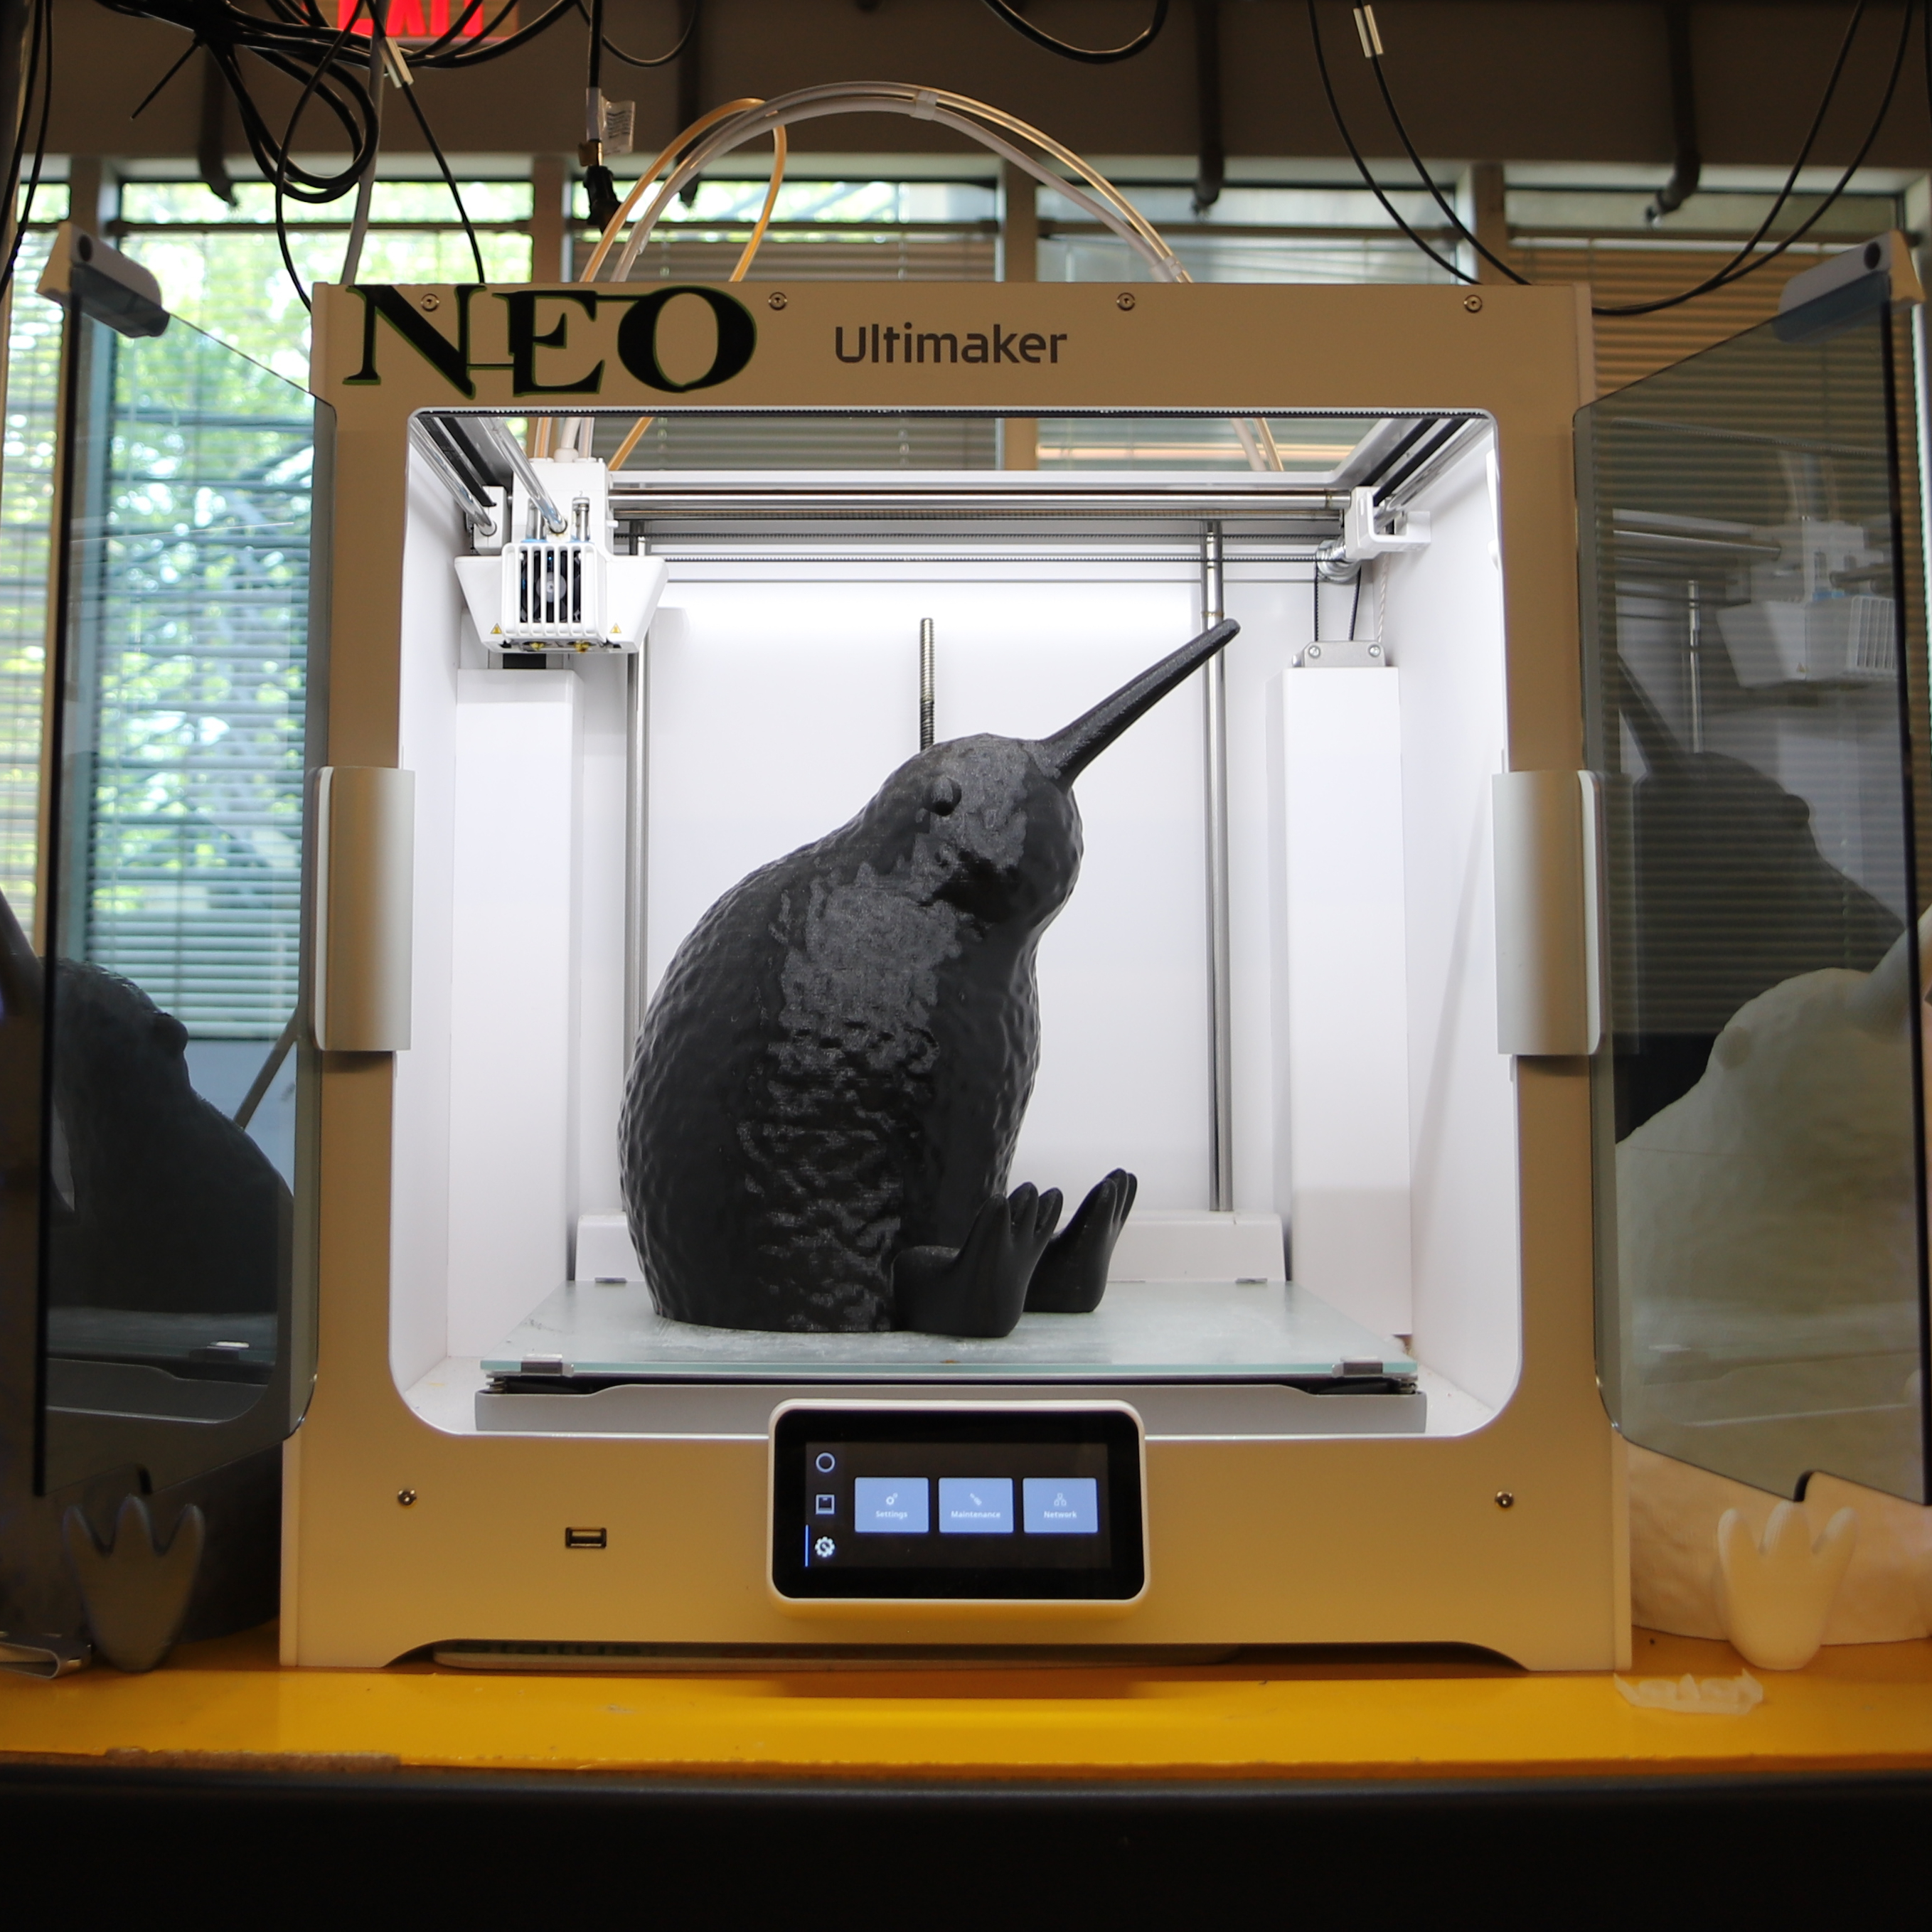
The Ultimaker S5 is the big sibling to the Ultimaker 3, featuring a larger build plate, a different back-end extrusion mechanism, and support for additional fun materials!