


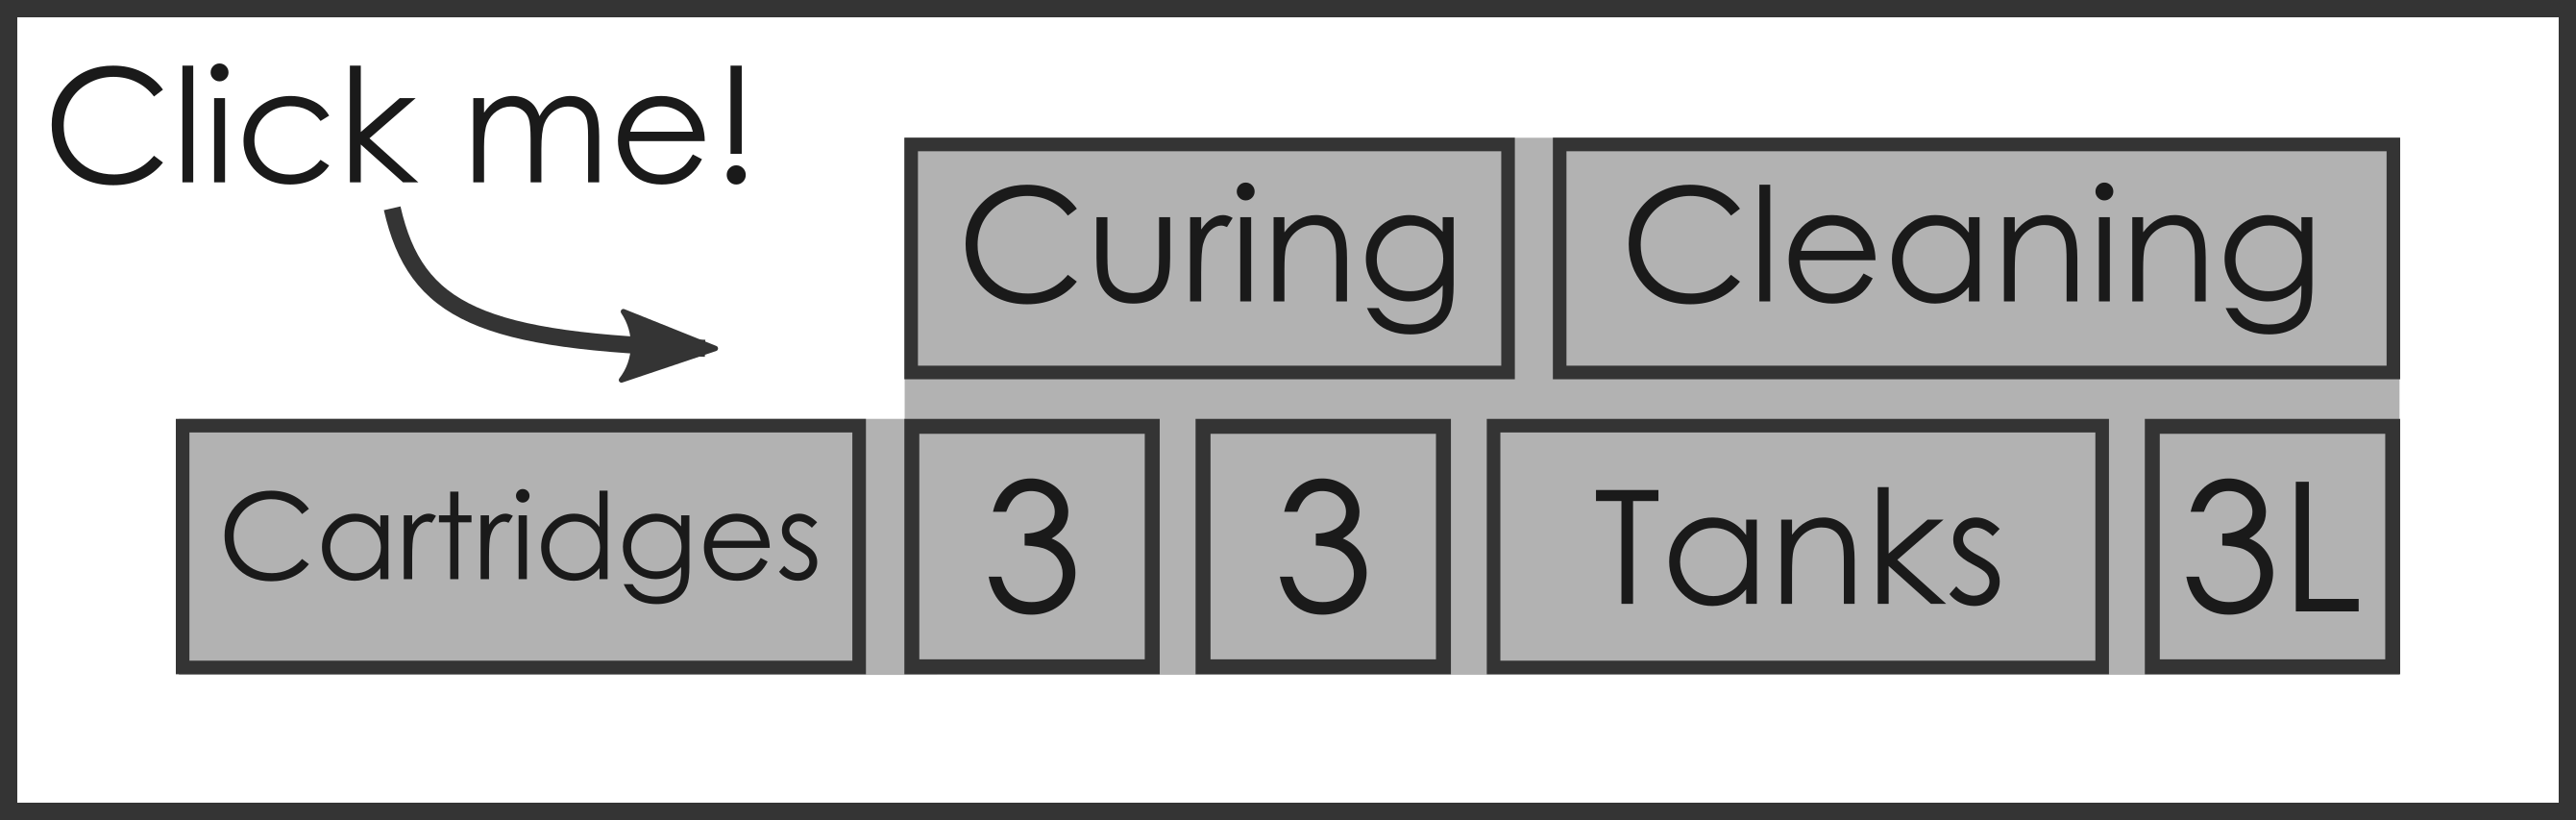
3D Printer (Resin) Map
Here is a graphical overview of Resin setup! Click on each box to learn more.
Cartridges
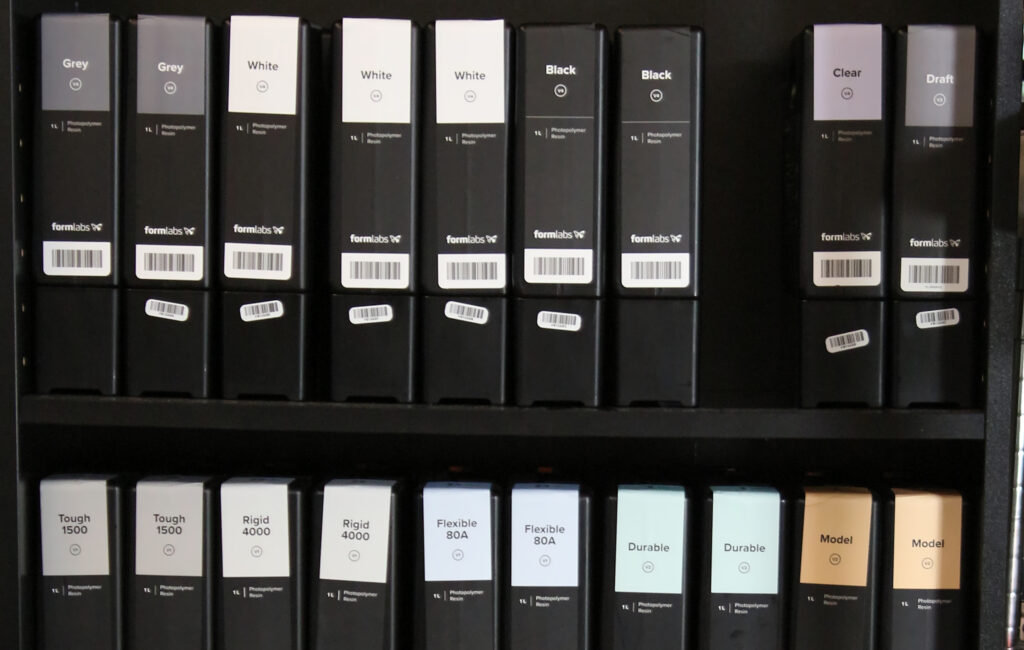
We have a wide selection of resins available for your use, each with its own best use case! Each cartridge matches with a corresponding tank.
Formlabs Form 3
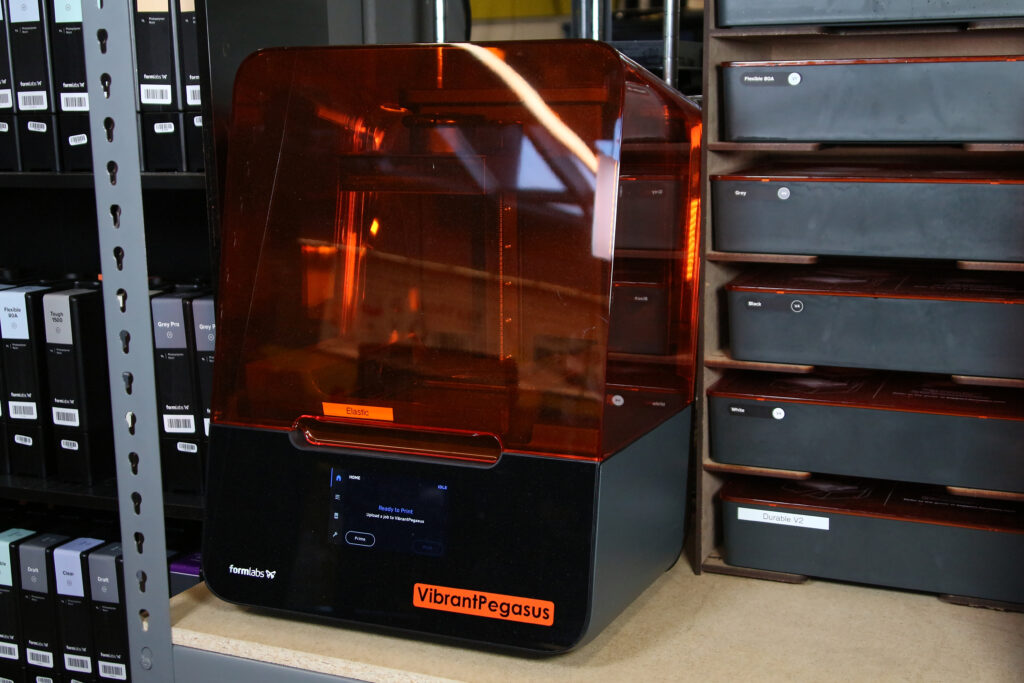
Our standard form factor SLA printer. Used for most jobs, and if you have a particularly large print, check out the Formlabs Form 3L!
Resin Tanks

We have a wide selection of resins available for your use, each with its own best use case! Each task matches with a corresponding cartridge. Our 3D Printer masters have created stickers on the tanks with mechanical properties to make it even easier to select the right resin for the job.
Formlabs Form 3L
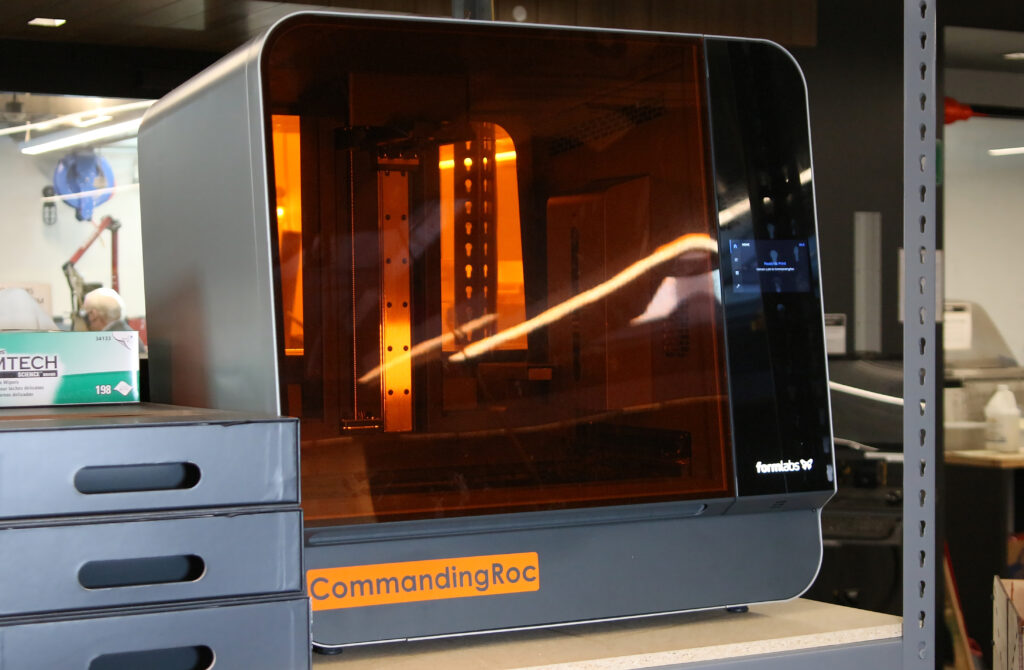
Our large form factor SLA printer. It even has space to hold two cartridges so that your print will not run of resin!
Curing Stations
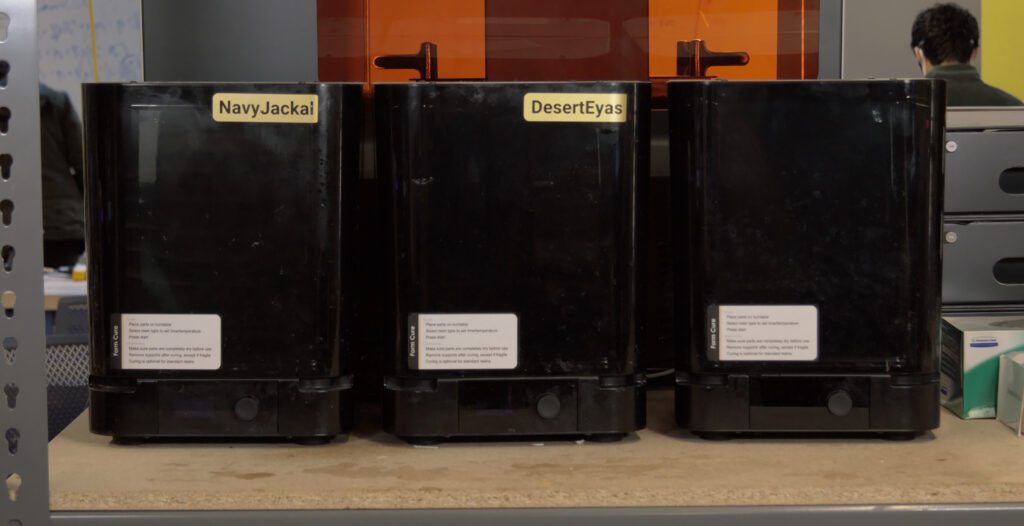
These stations allow your part to be cured so that it can achieve optimal material properties.
Cleaning Stations
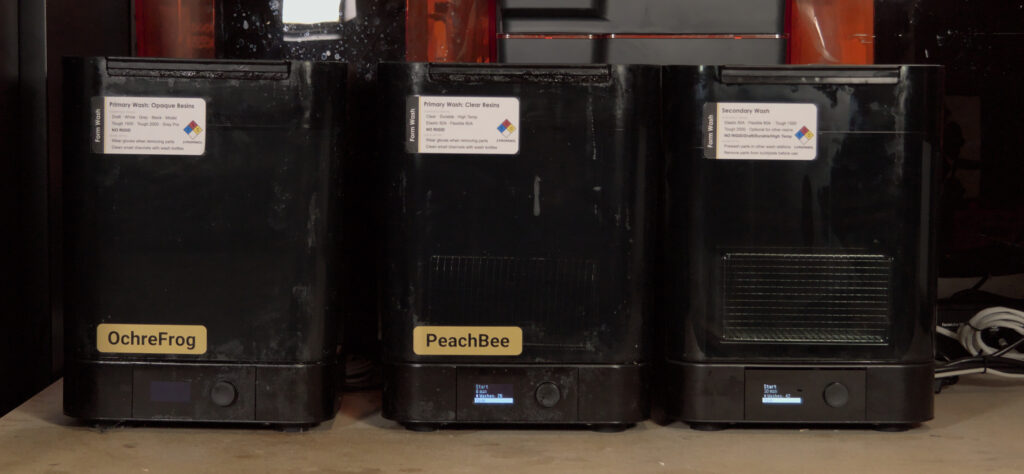
These stations clean off the remaining liquid resin from your parts so they are safe to handle.