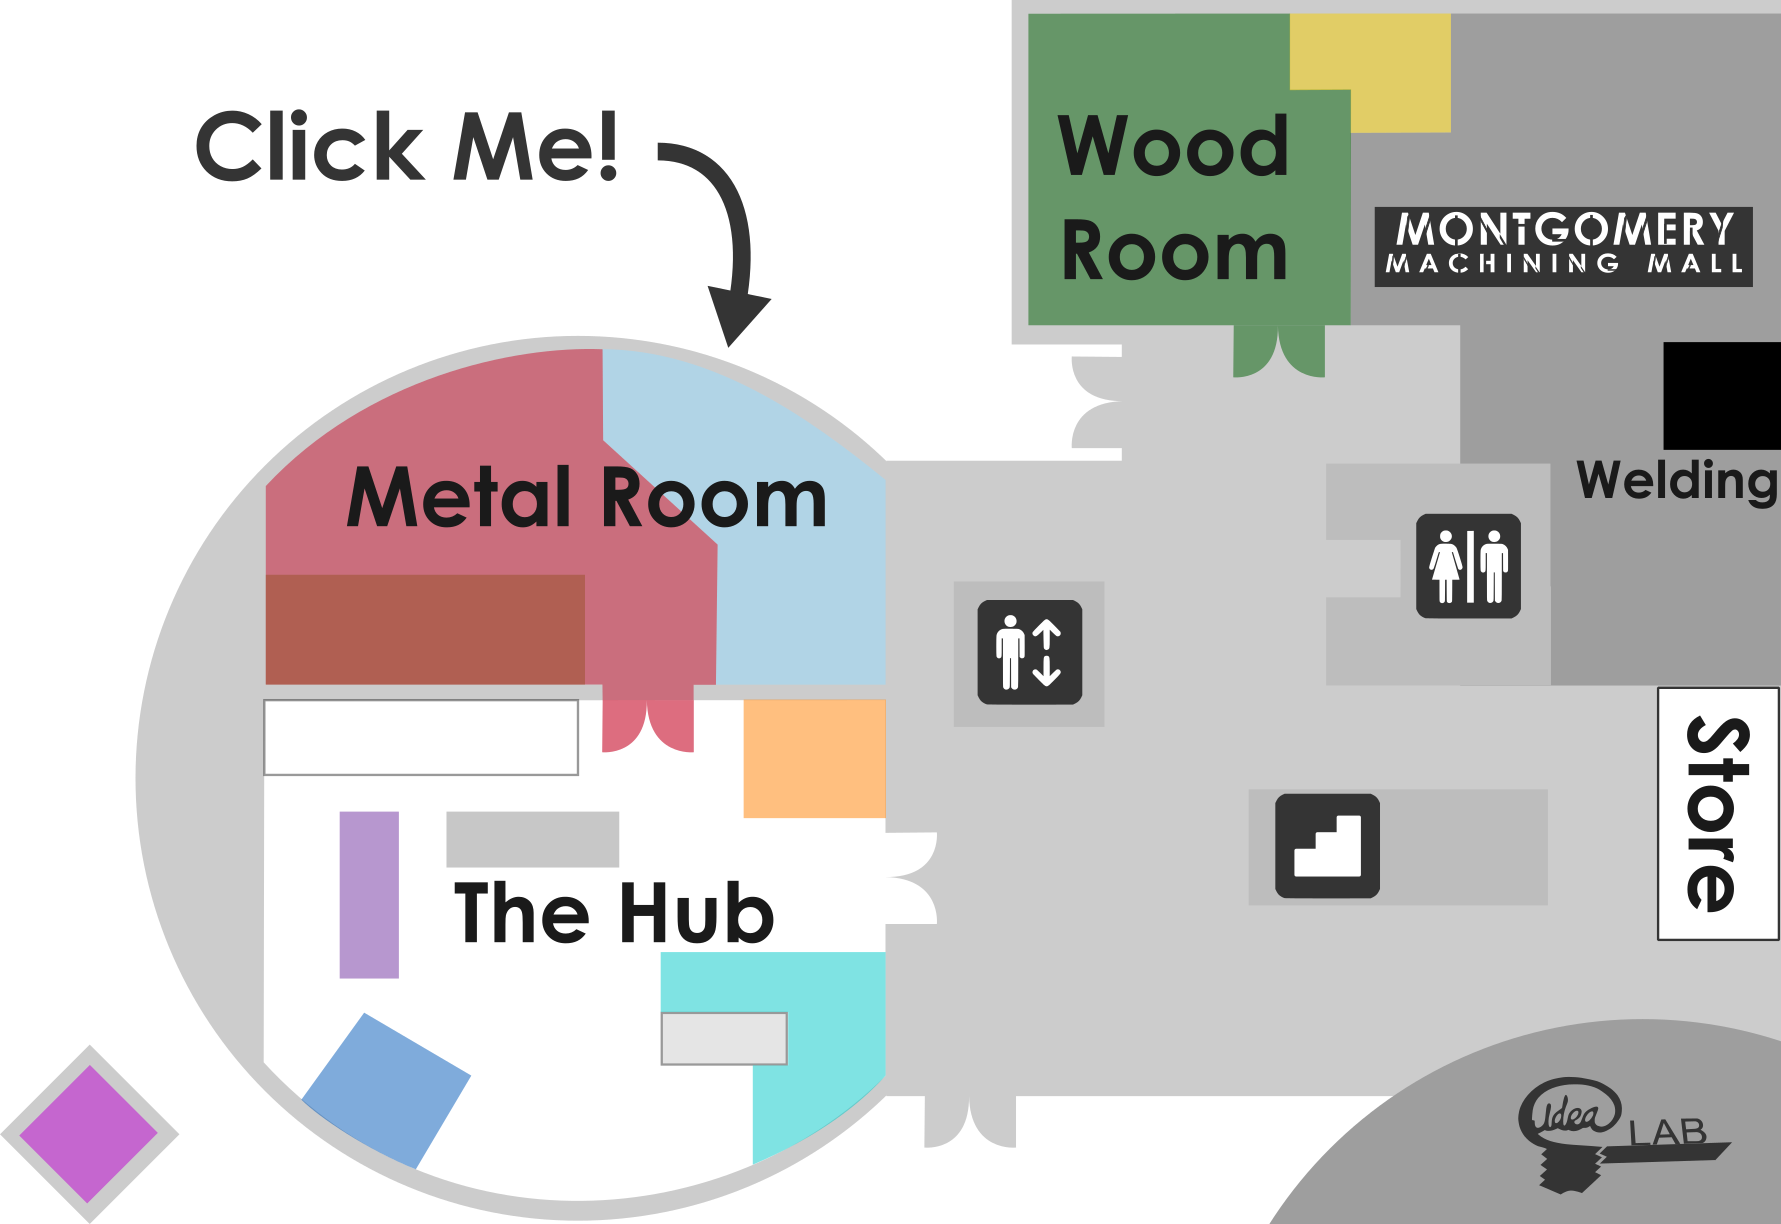
Interactive Map
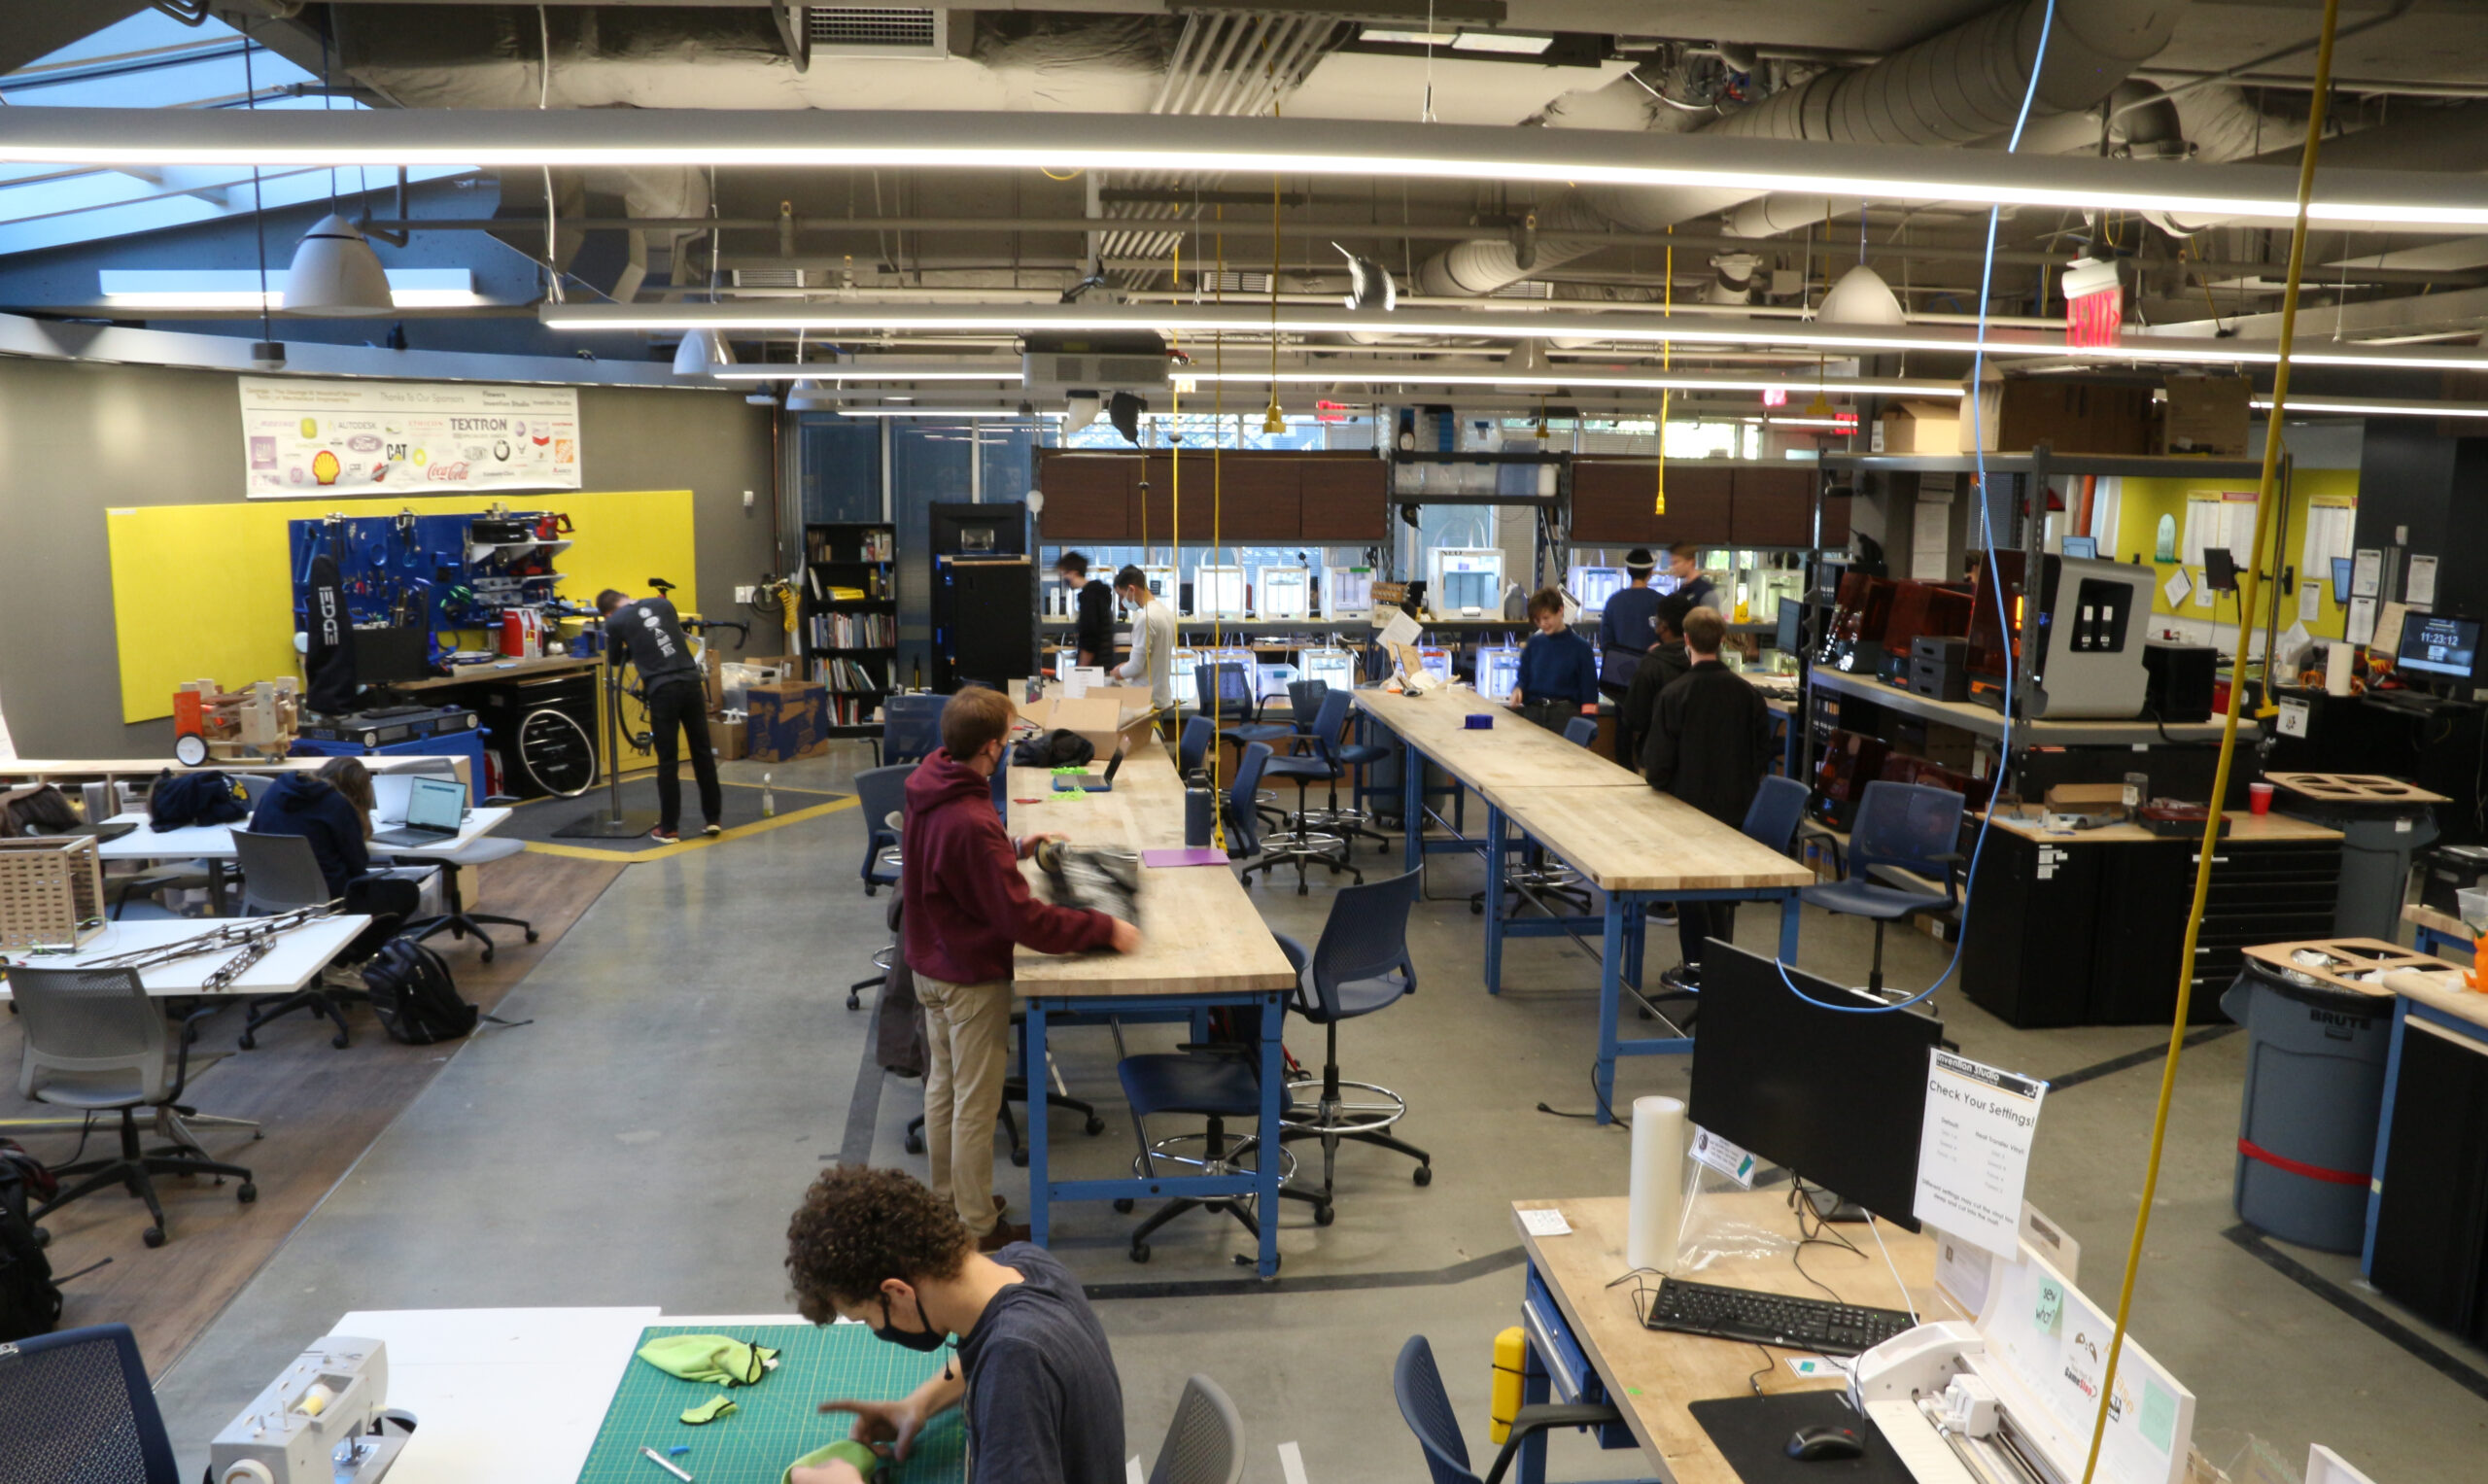
The Invention Studio operates across four major areas: The Hub, Metal Room, Wood Room, and Store.
These are further divided into 13 tool groups, each of which has their own color.
Click around to get a preview of all of the awesome tools we have available for you to use for free for your personal, class, or research projects!
3D Printer (Standard)
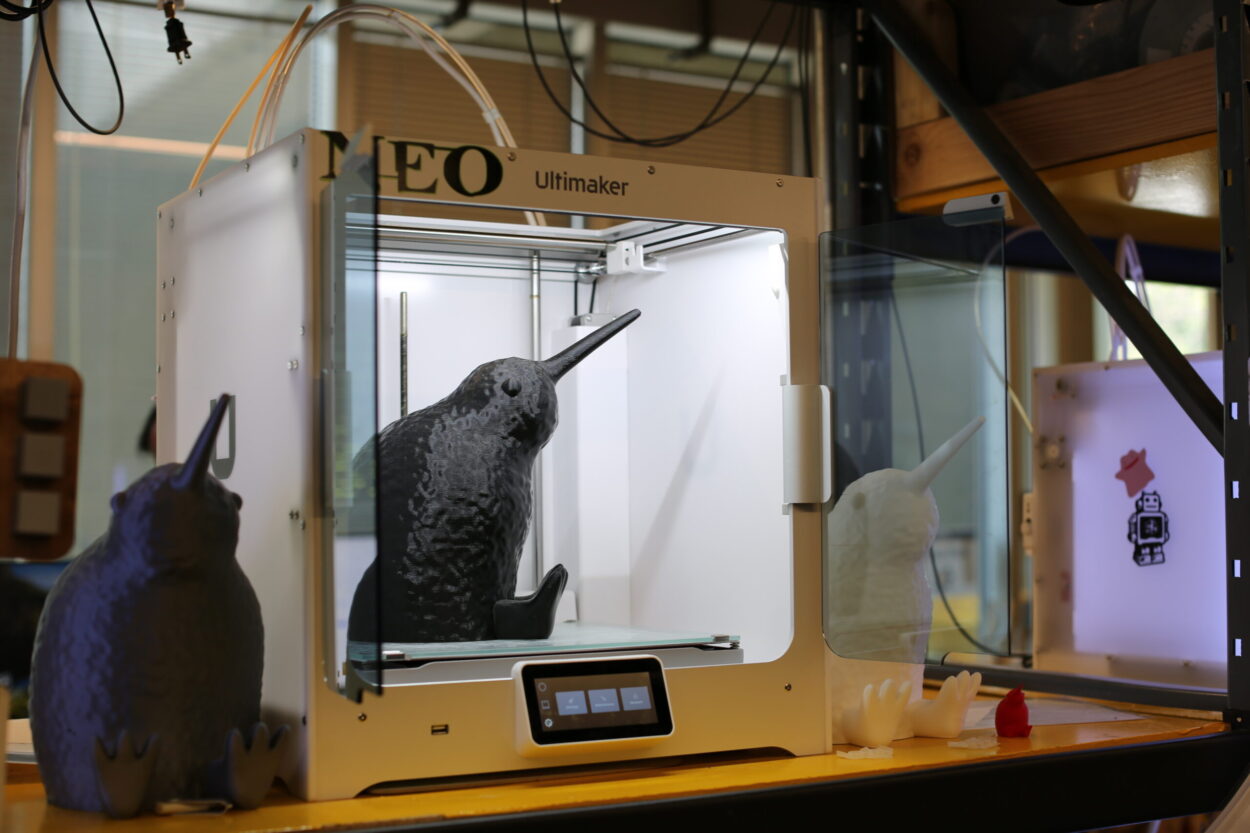
Our main fleet is composed of 19 Ultimaker 3 printers, with one flagship Ultimaker 5s in the middle seen above.
These use FDM technology, and we primarily print PLA, although we do have other materials as well!
3D Printer (Resin)

We also have a secondary fleet of resin printers made by Formlabs.
These printers use SLA technology, and have a crazy level of precision (down to 25 micron layer height)!
Electronics

Need to create mechatronics circuitry or just string together a bunch of LEDs?
Whatever your project, our electronics has the equipment you're looking for.
Metal Room
Make sparks and chips fly in our metal shop! We've got industry-level equipment that we'd love to teach you.
Check out our Metal Room page to learn more!
Paint Booth
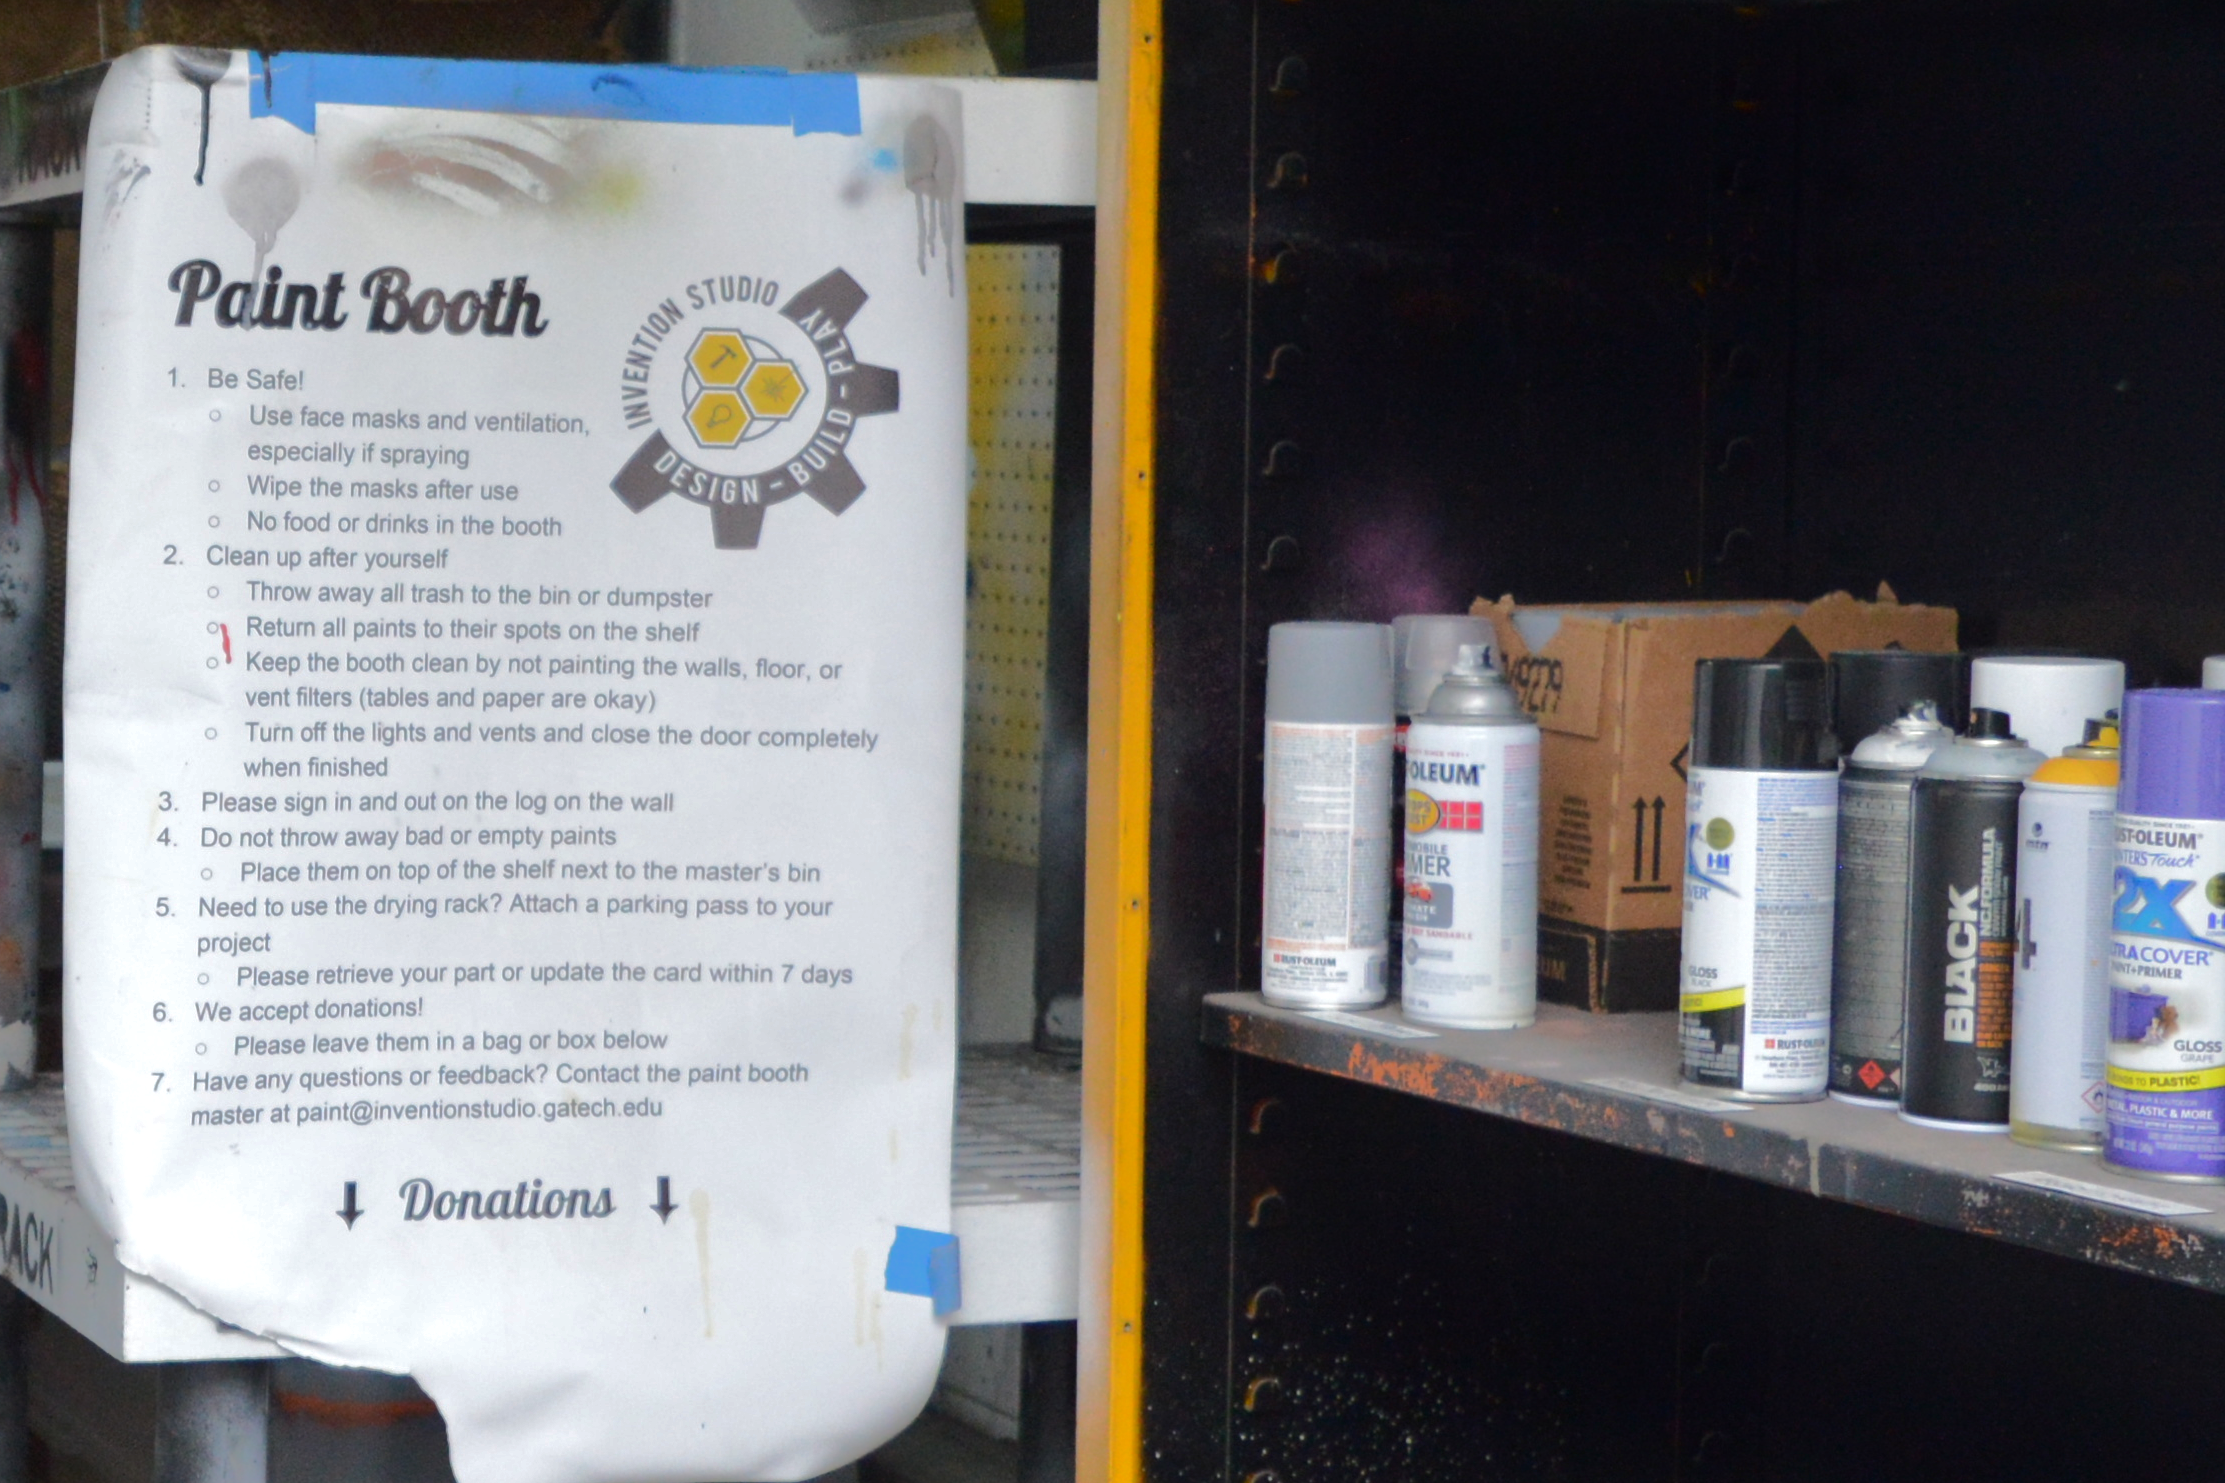
What's a project without a good coat of paint. If you're looking for a safe, ventilated area to spray paint or stain on campus - look no further!
Waterjet
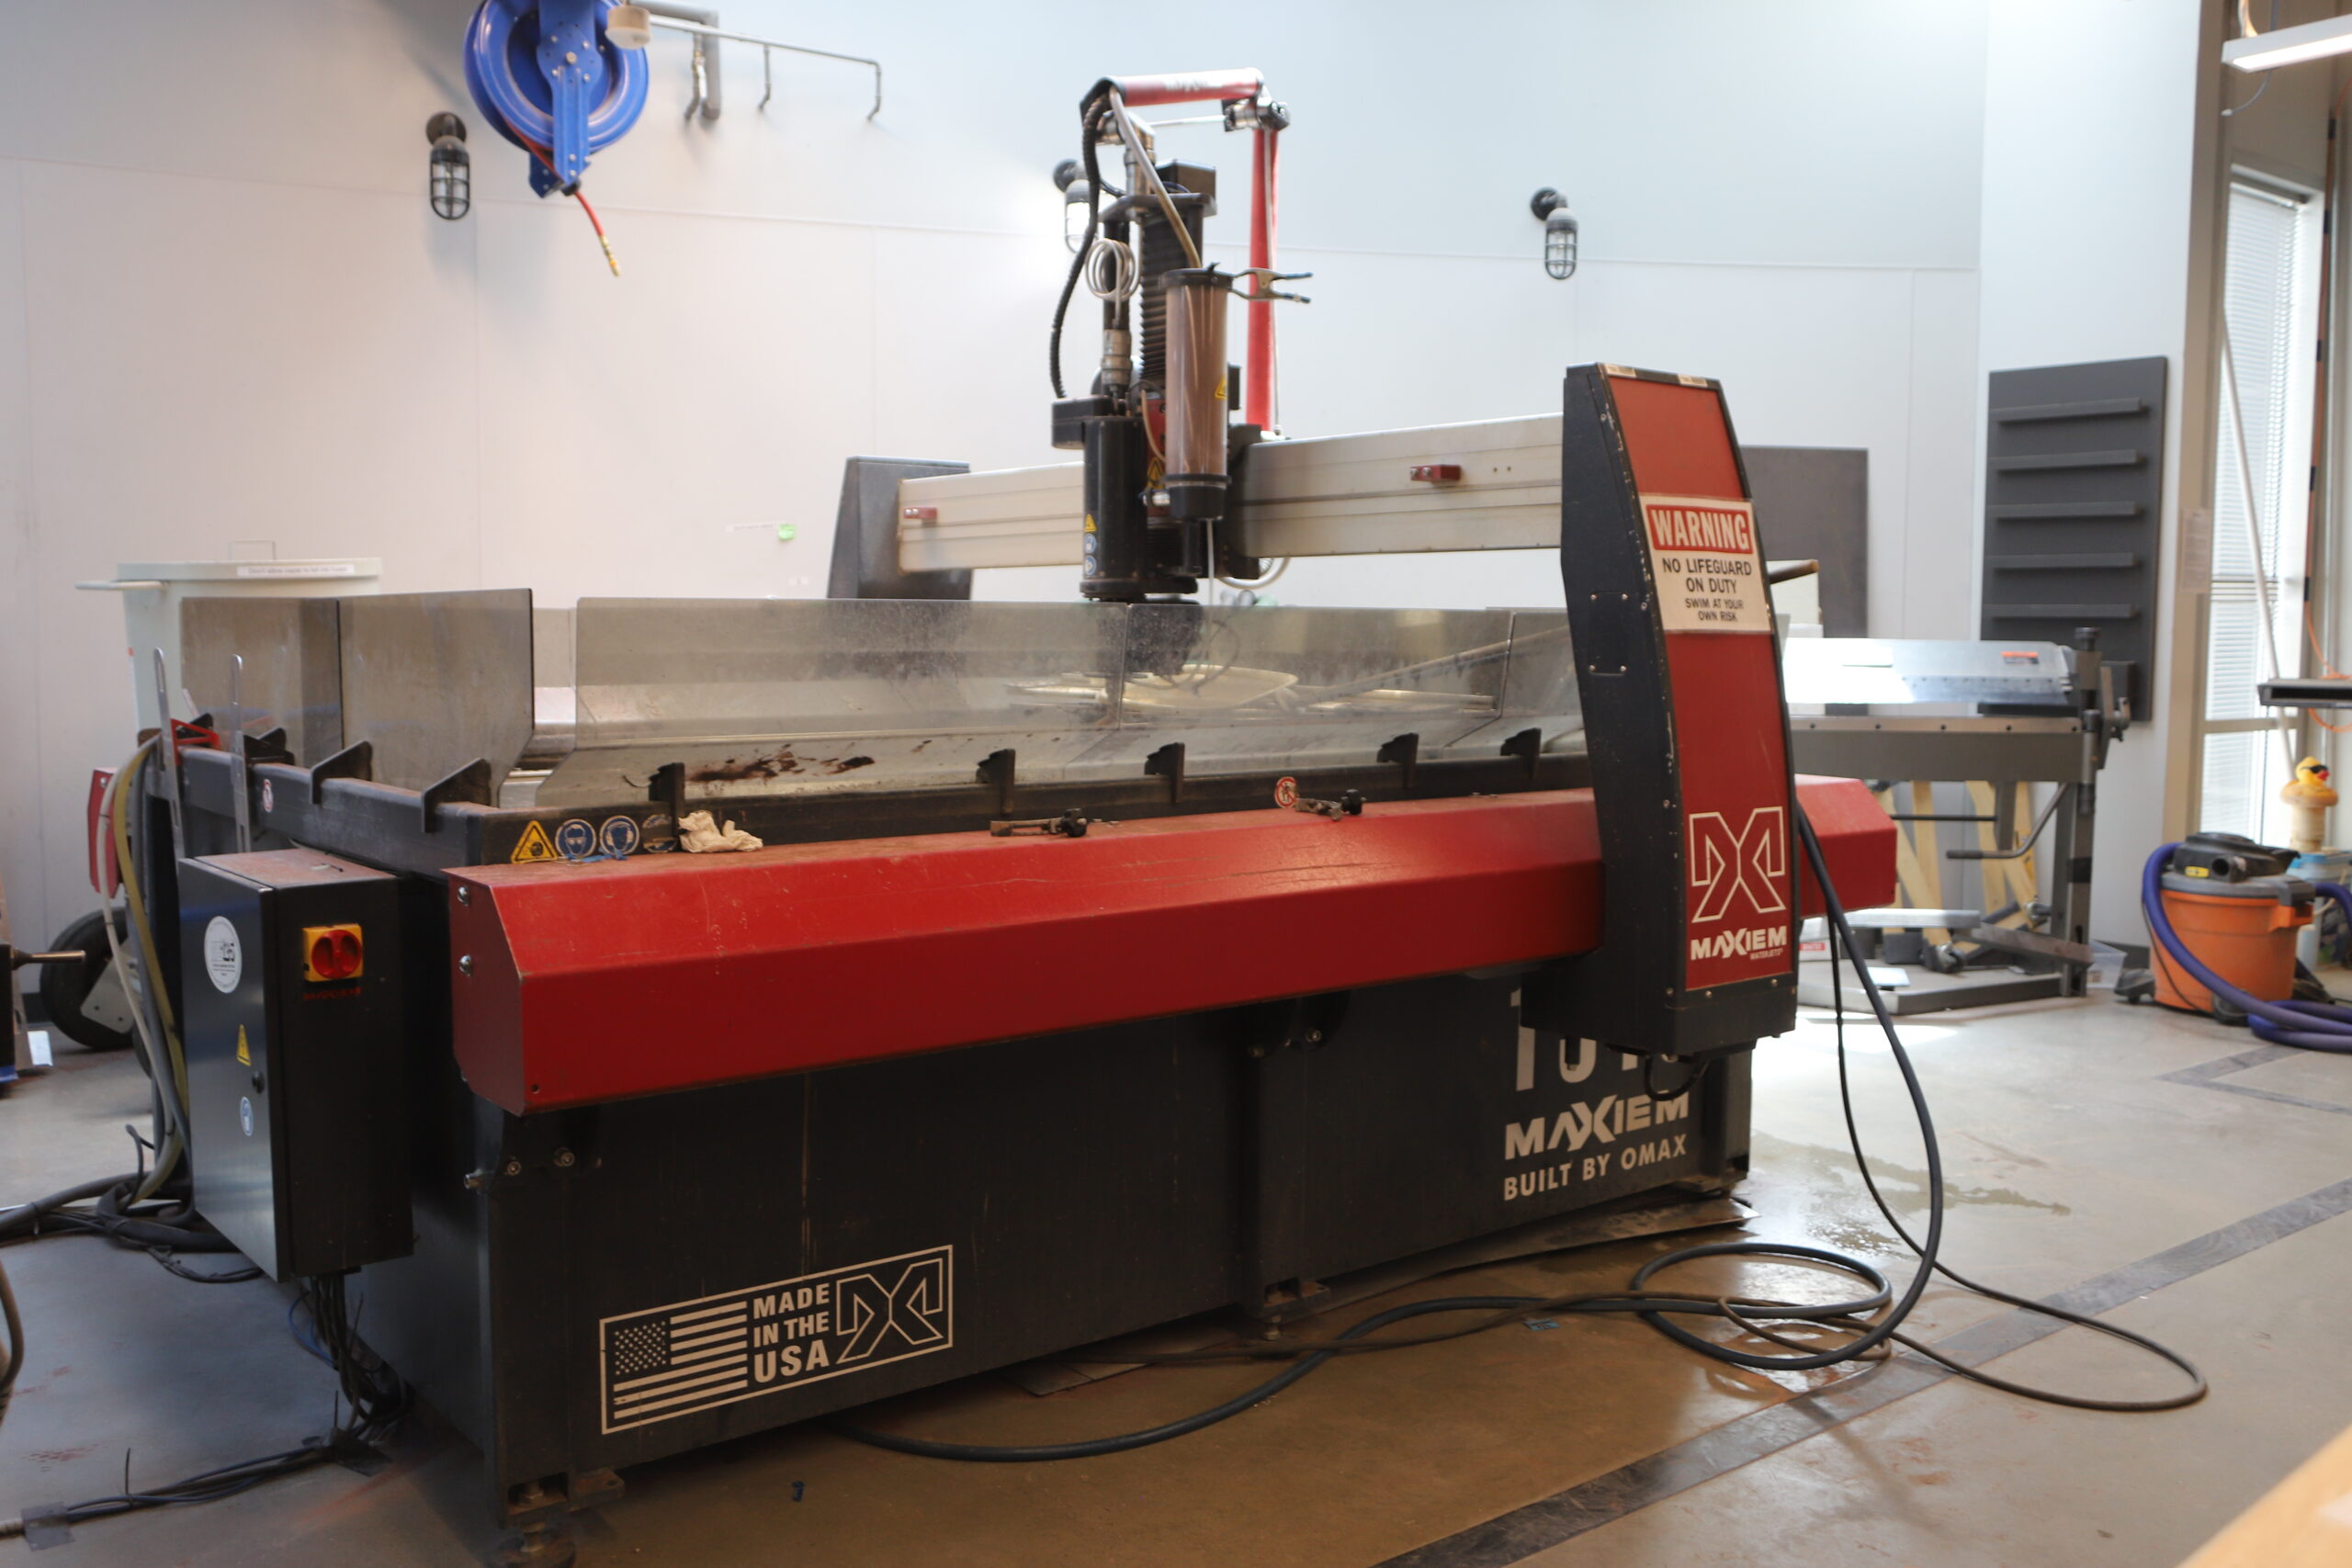
We have 2 waterjets of varying sizes and capabilities available to our users.
The larger of them is an OMAX Maxiem 1515, seen above, and the smaller a ProtoMAX.
The OMAX has a cutting envelope of over 5ft by 5ft, and a 5-axis head, which enables some pretty large and complex parts!
Laser
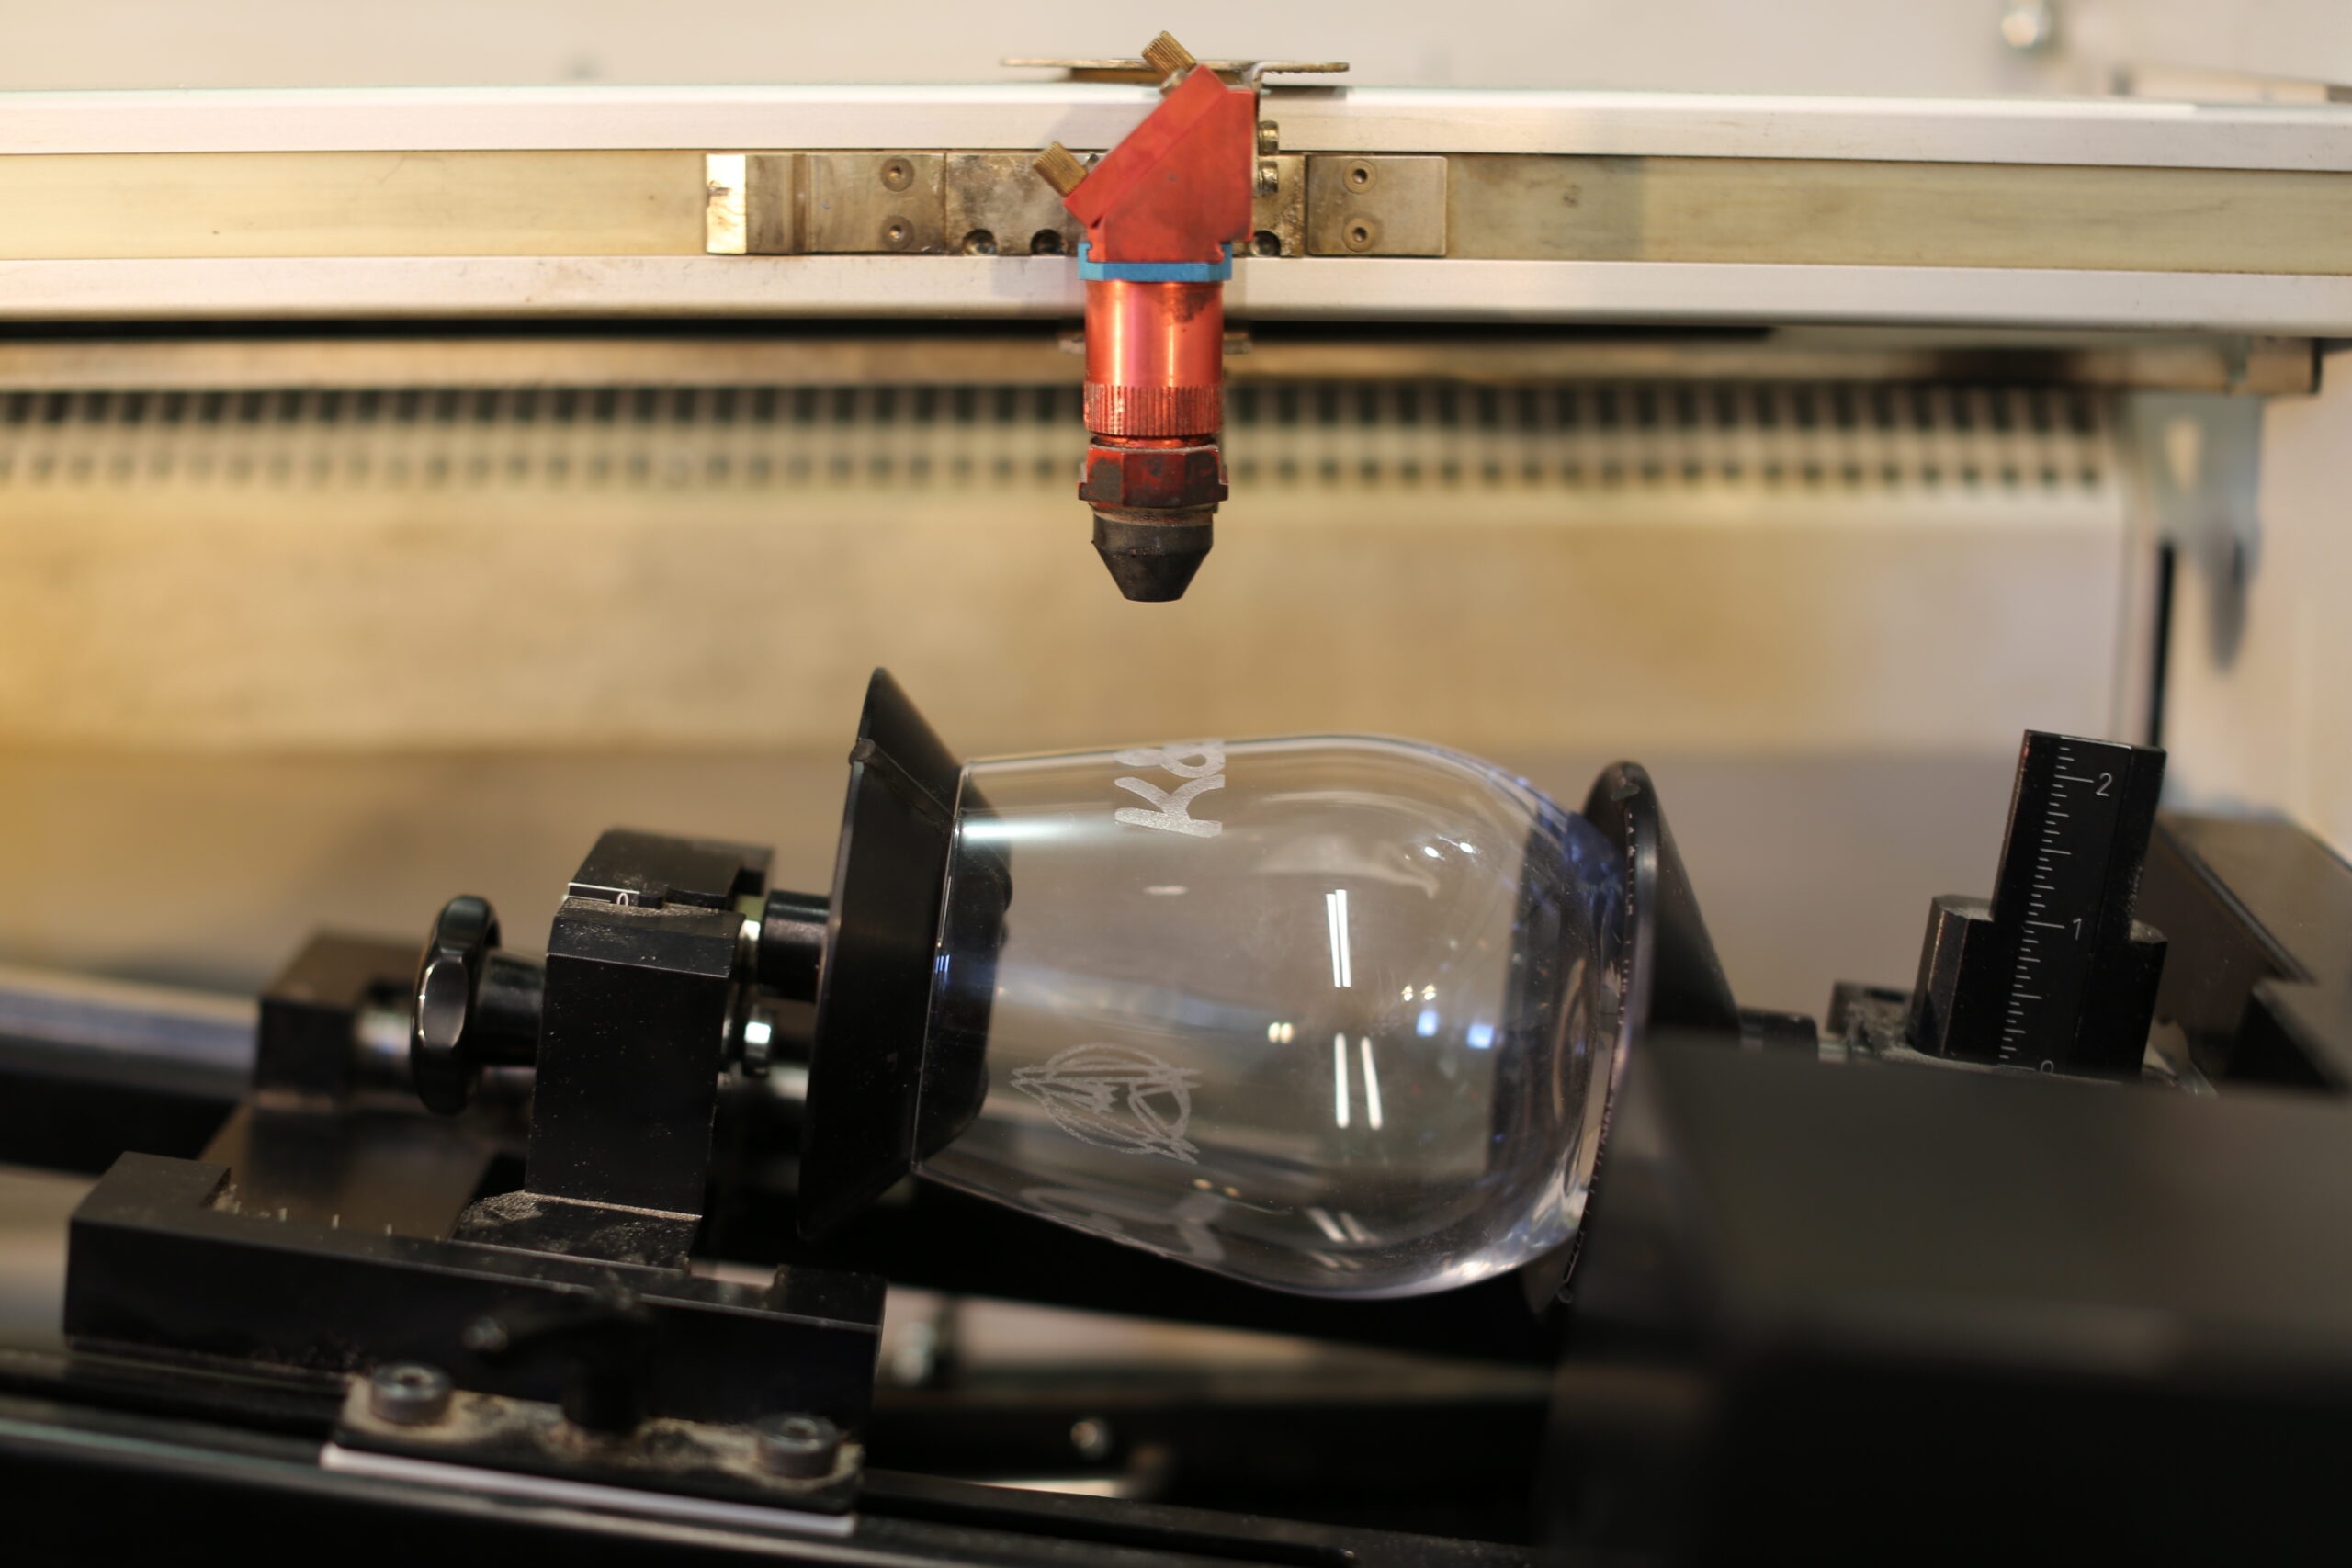
We have 2 Trotec Speedy 300 lasers, a Speedy 400 laser, and a Speedy 400 flexx laser!
With these you can cut 2D contours on wood, or engrave either wood, metal, or glass. With the rotary attachment you can engrave curved surfaces like glasses! In 5 minutes you can go from having a picture of your dog to having an engraved plaque.
Bike Tools
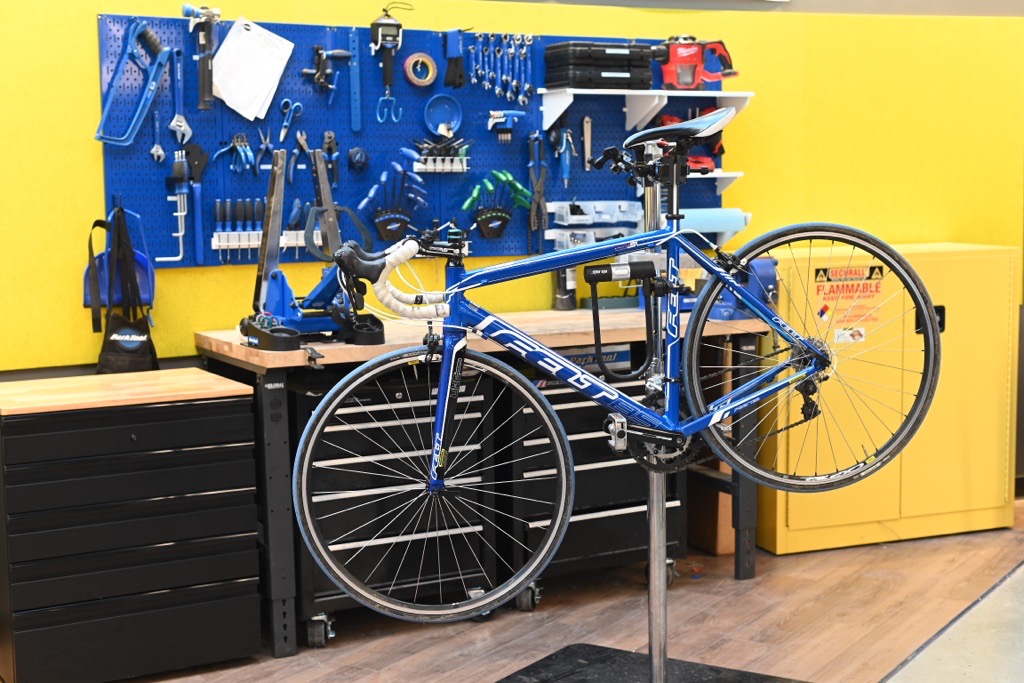
Have a flat tire or building a custom bike? We have the tools needed to make that process as easy as possible!
Metal CNC
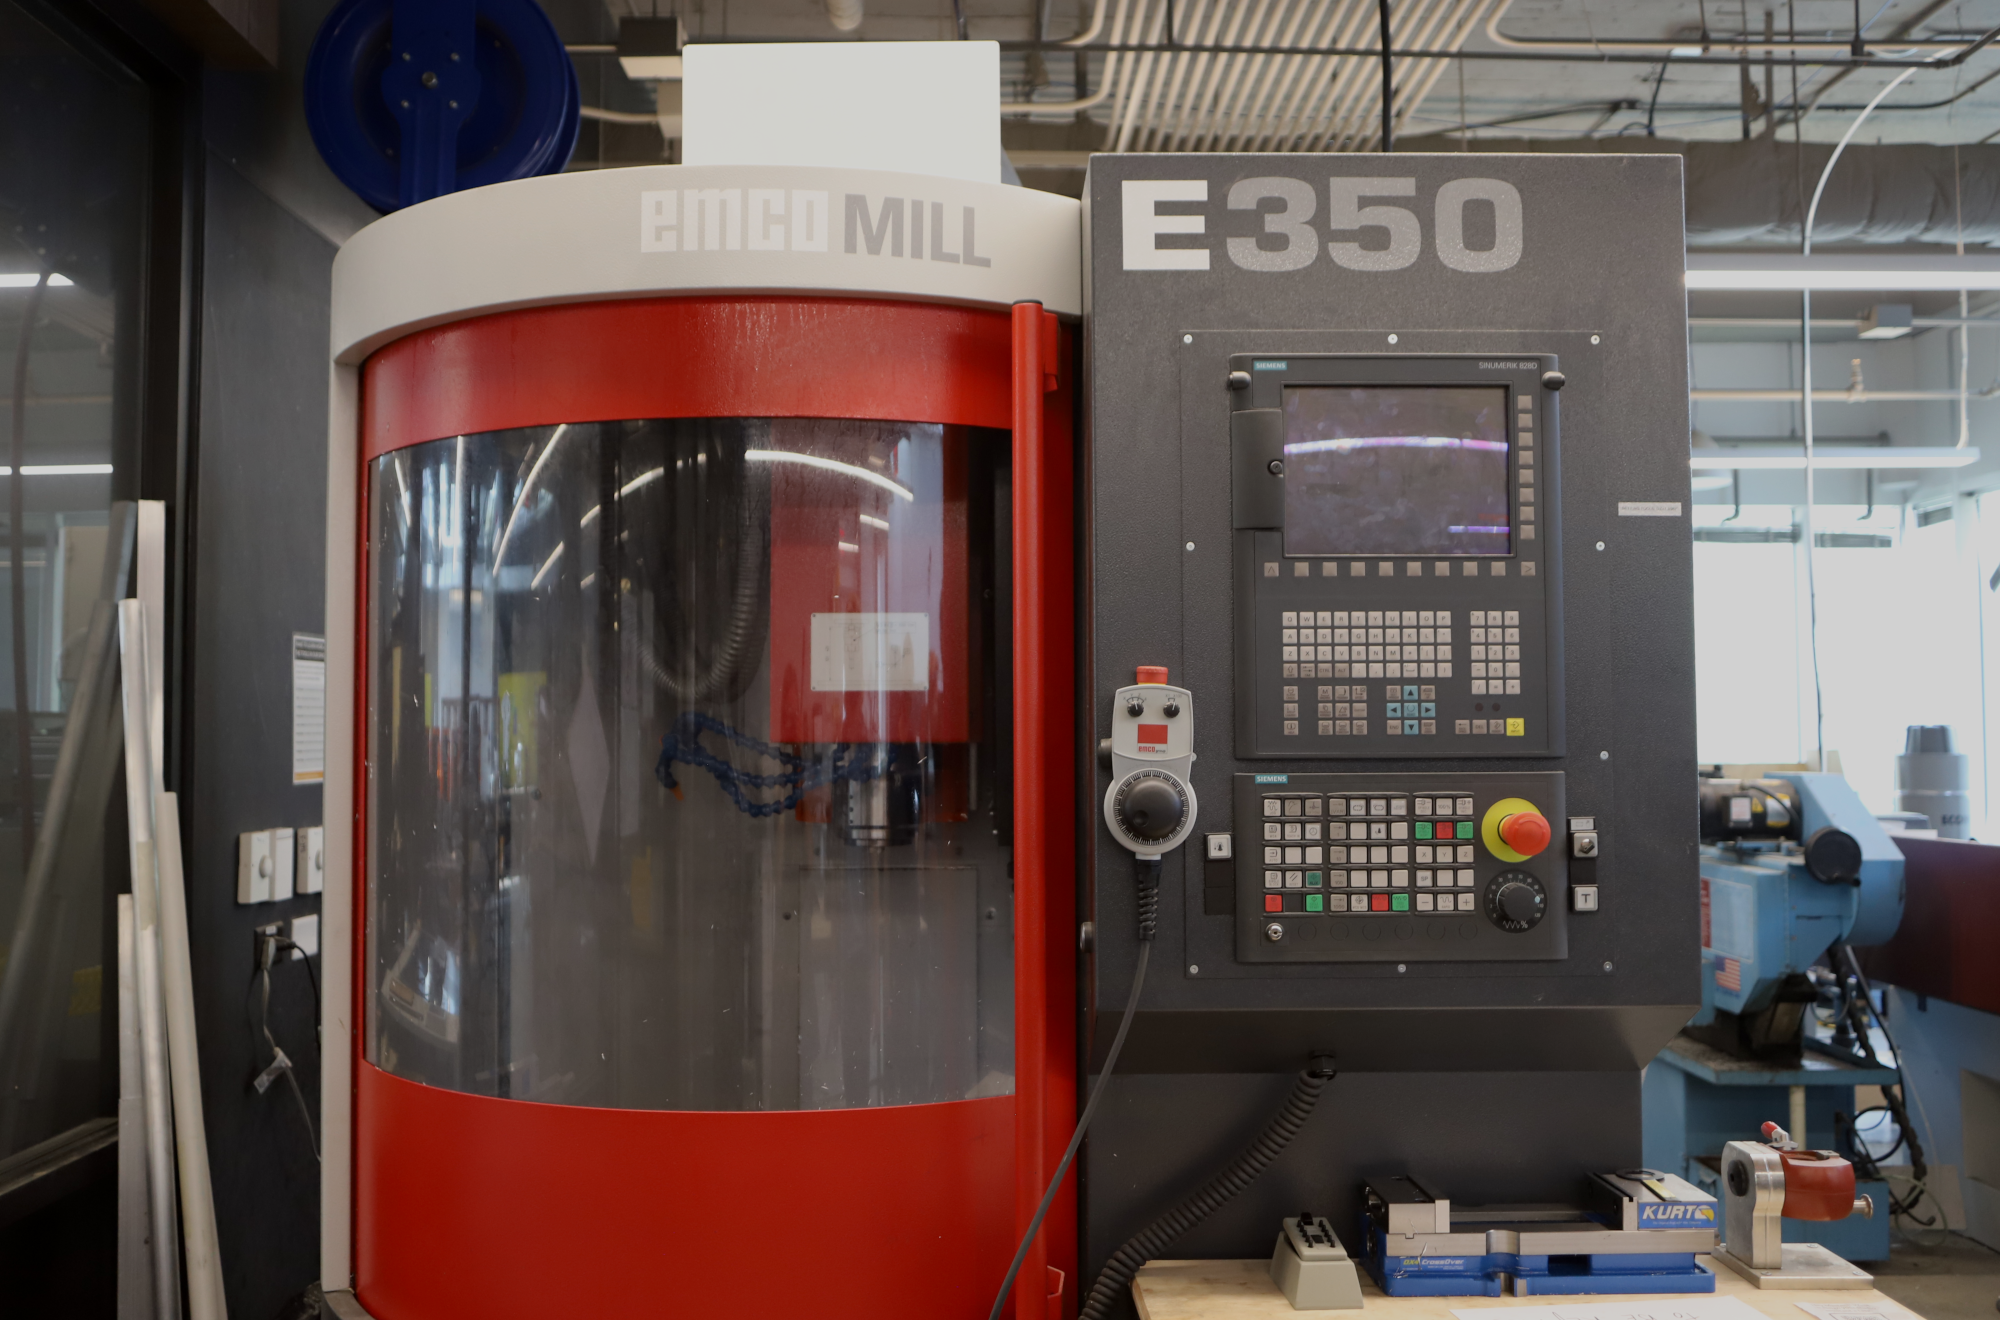
We have 3 different mills allowing you to make parts of different sizes and complexities!
Just make sure to reach out to our Metal CNC Masters if you want to use it for any reason. They will train on proper operation from design to operation!
Read more on the Metal CNC Page.
Wood CNC

More accurate than a 3D printer, more versatile than a laser cutter - use our CNC tools when you need to make large, complex shapes.
In our wood room we have a CAMaster Cobra CR-508, which features an automatic tool changer, and a huge 5ft by 8ft cutting envelope!
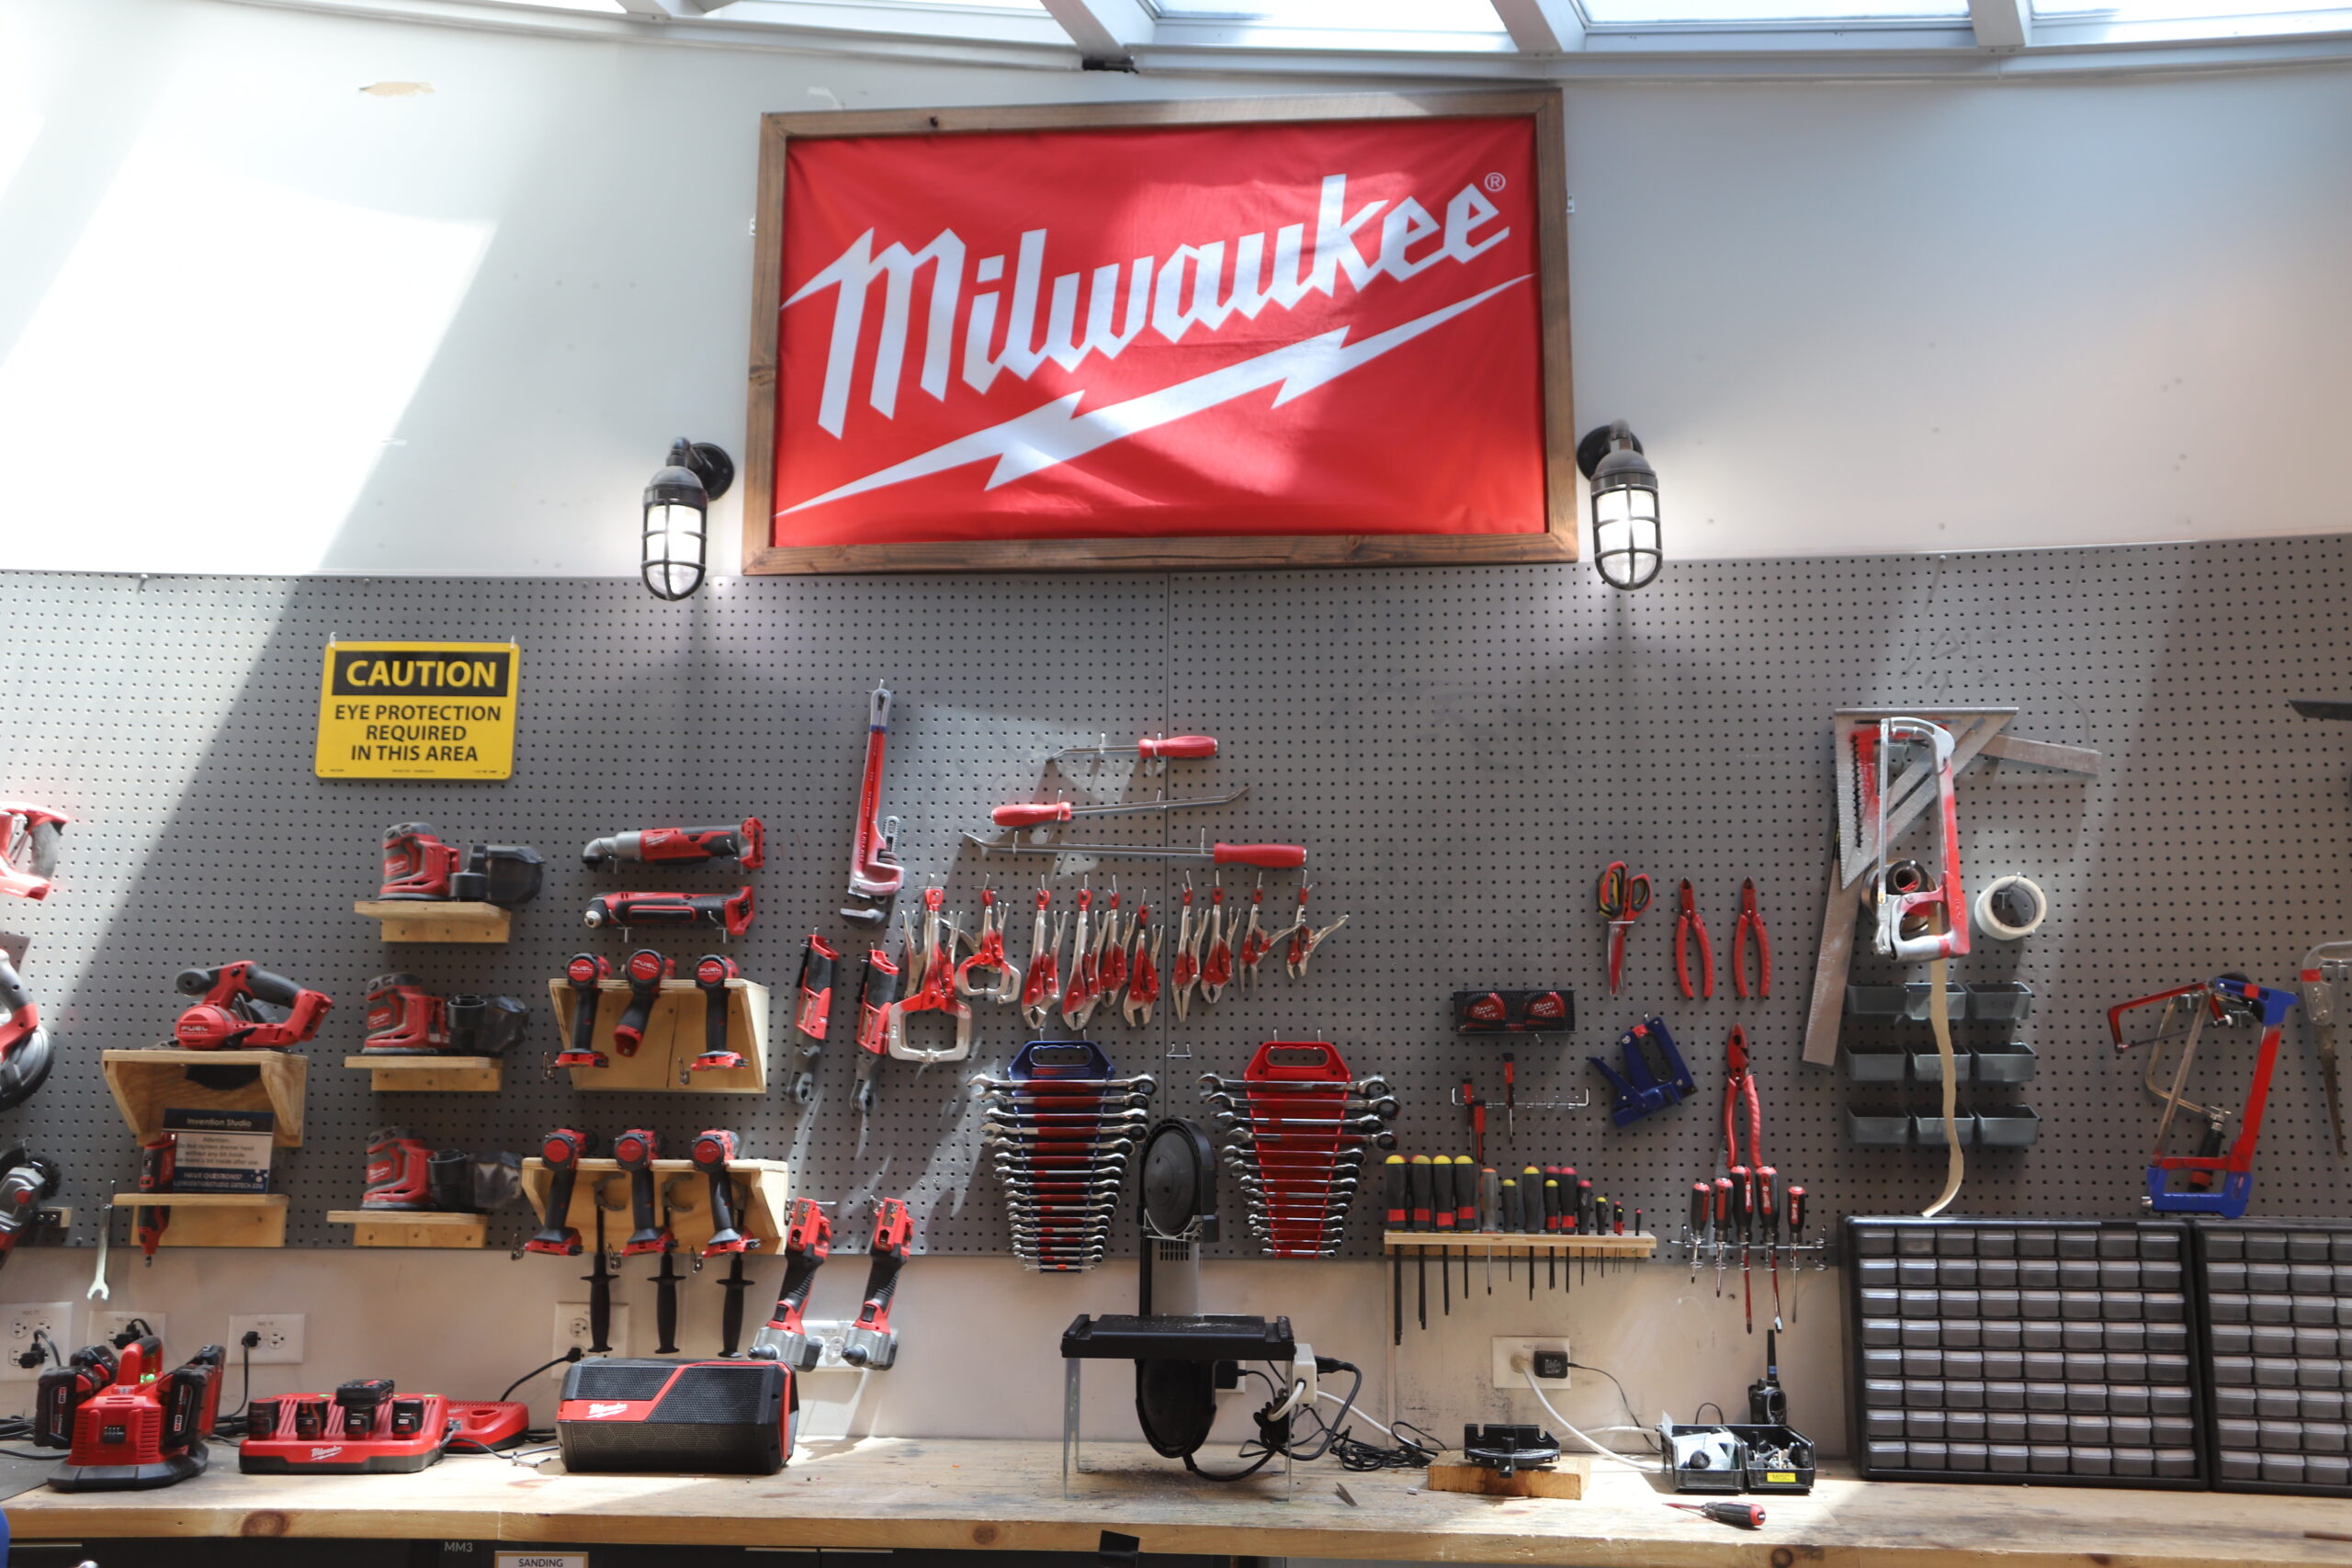
Wood Room
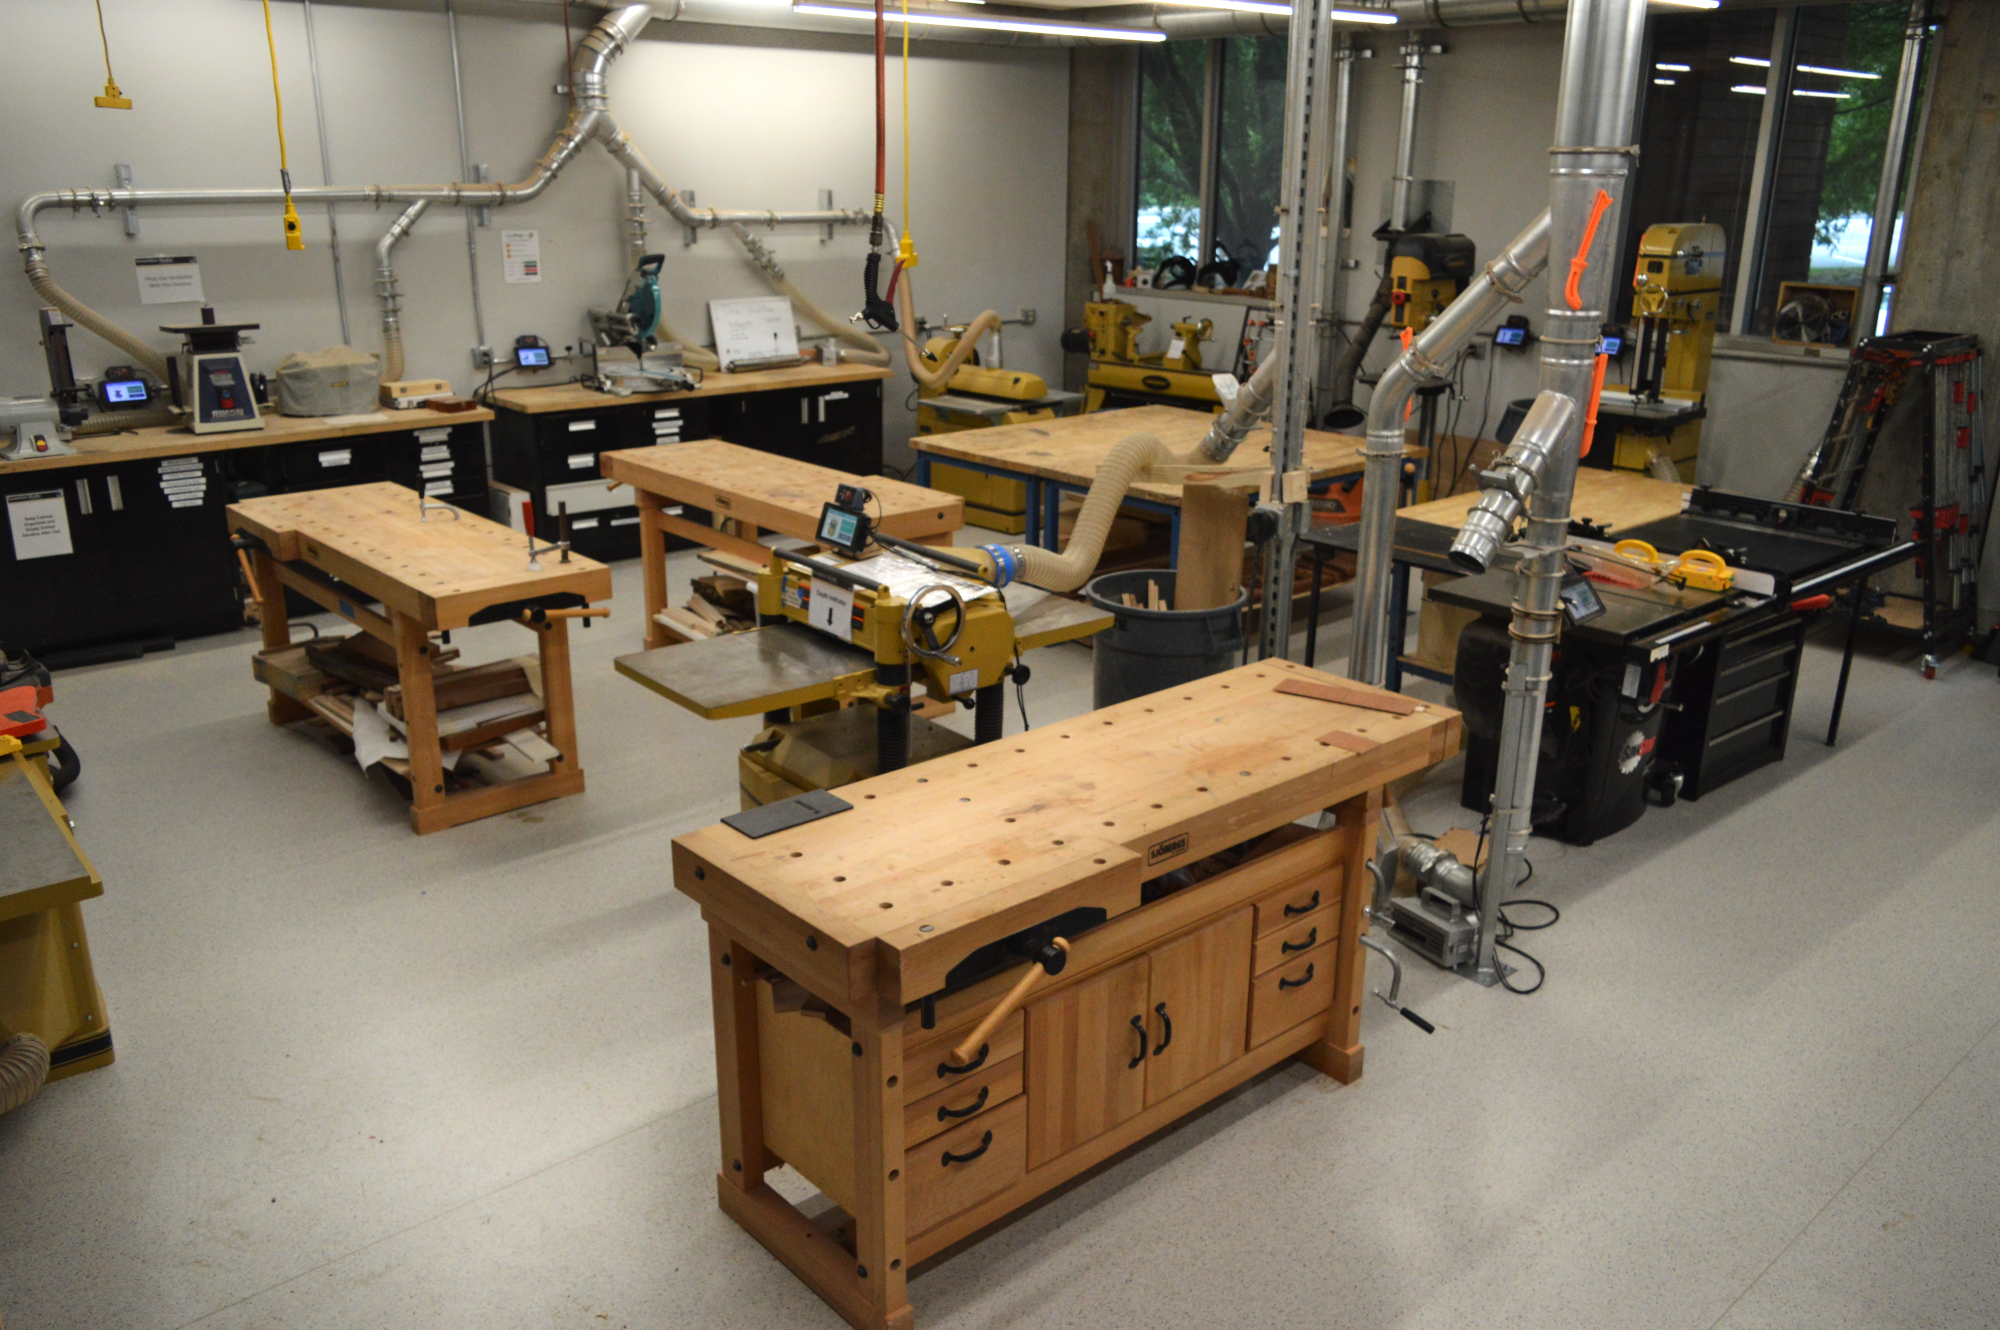
Clamp, cut, and sand your way to your next big woodworking project!
From larger tools like table saw, a planer, and a jointer to remove a lot of material, to smaller tools like a router or hand plane to complete the finishing touches, we have all the tools you need to complete your next project!
We even have a wood lathe if the idea of turning your own custom pen sounds like the sort of statement you want to make.
Craftland (Fabric)

Get crafty! Craftland has a wide selection of tools for tons of projects, including a vinyl cutter for custom stickers, a button maker, a tee shirt press, and sewing machines.
Craftland (Non-Fabric)
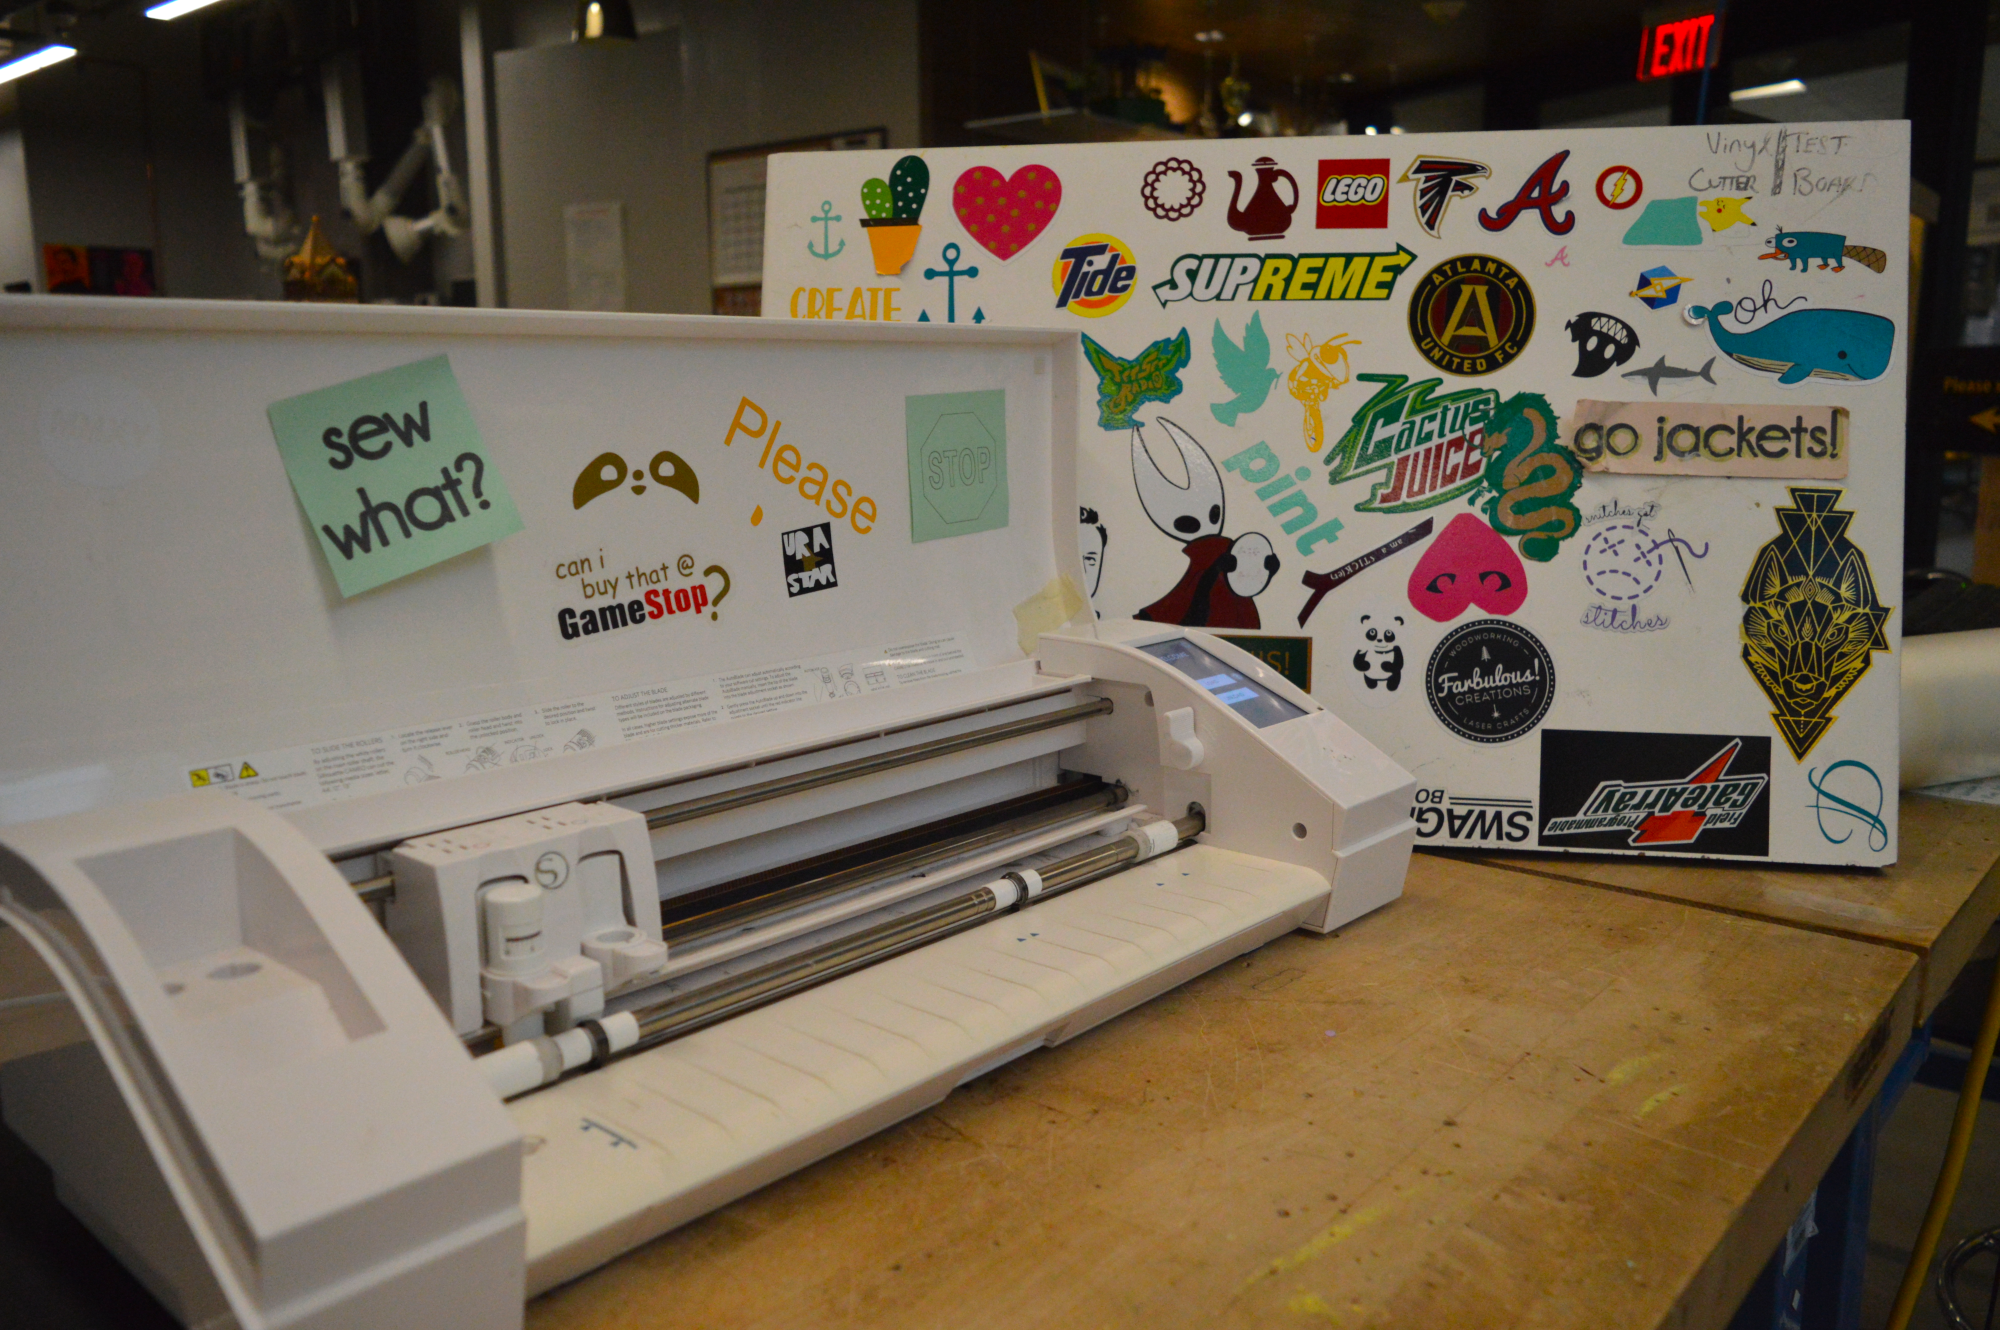
Get crafty! Craftland has a wide selection of tools for tons of projects, including a vinyl cutter for custom stickers, a button maker, a tee shirt press, and sewing machines.
We separate the sewing materials and mark them with gray tape since they will wear too fast if used on non-fabric materials.
Store
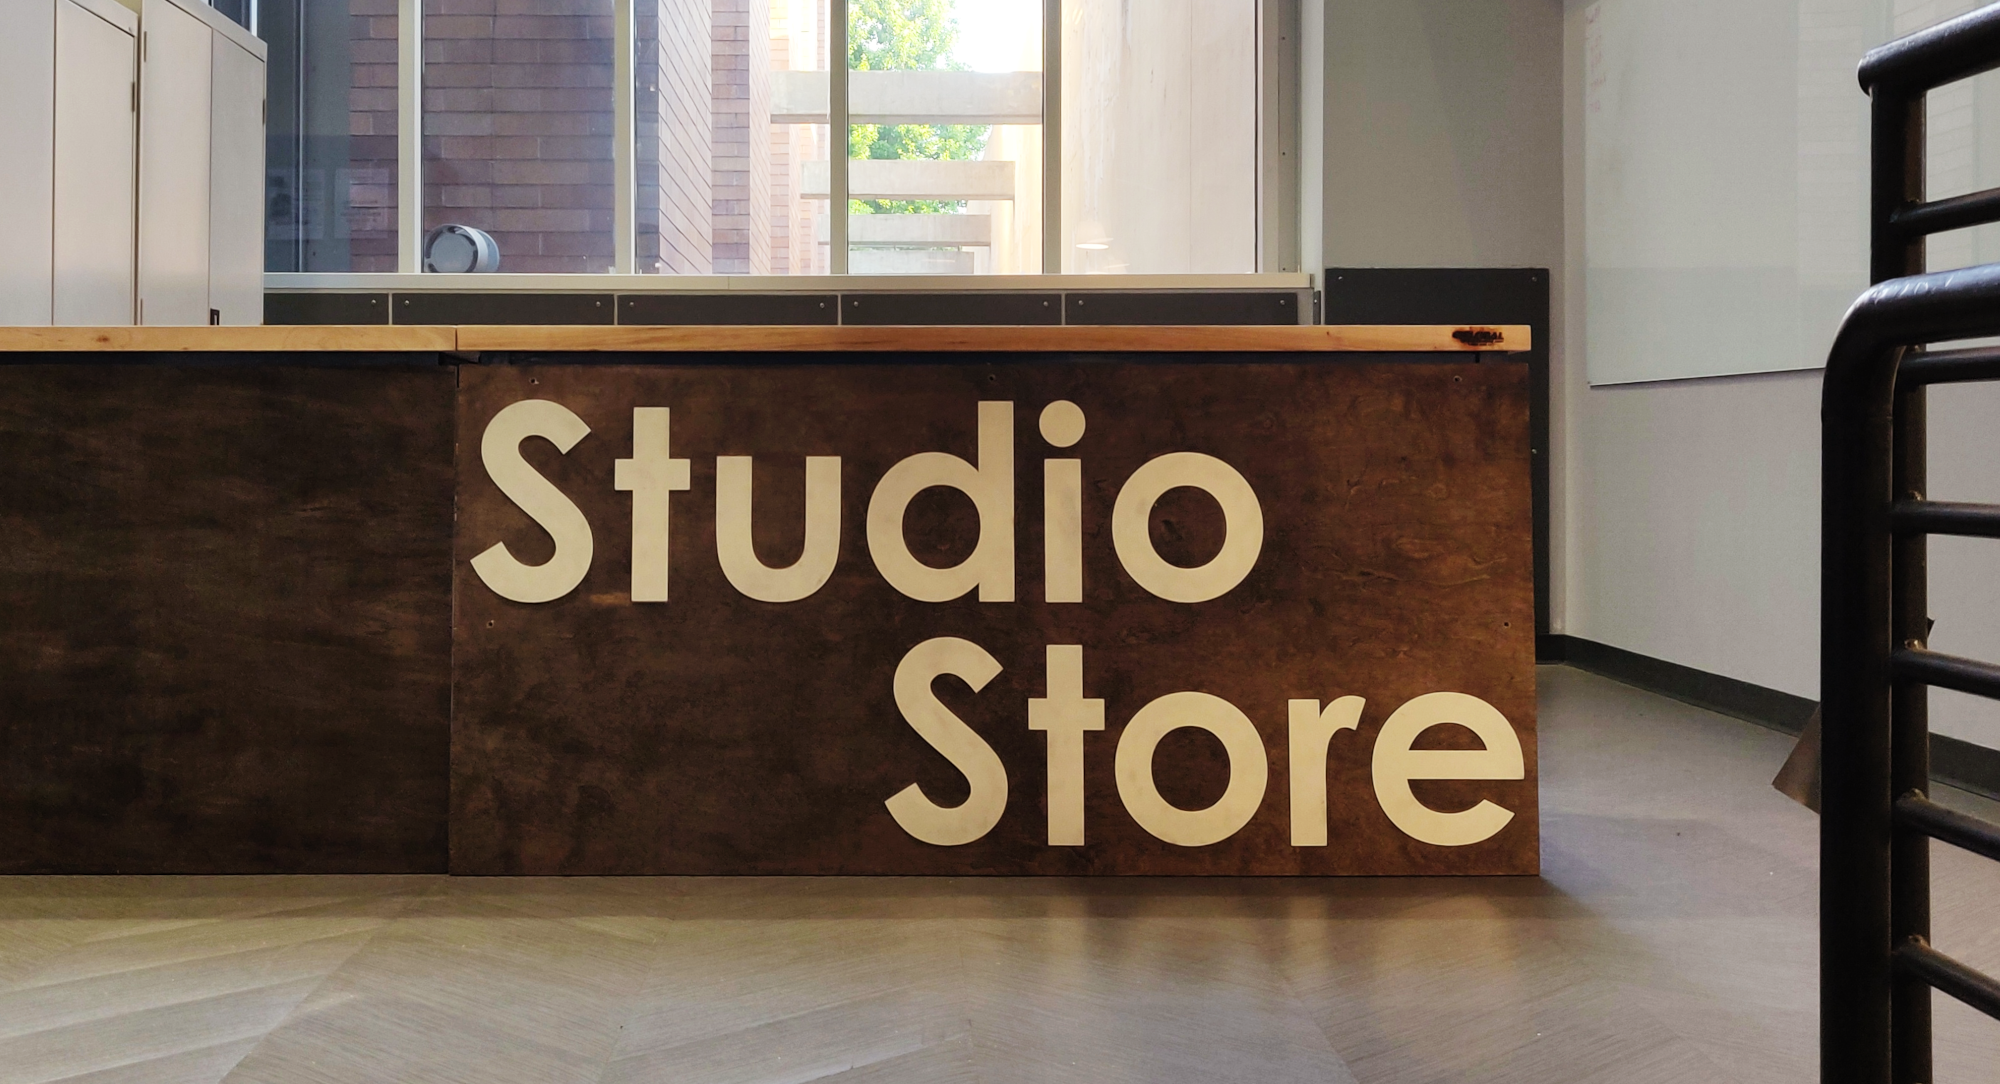
The Invention Studio runs a store that sells material at cost to members of the GT community!
You can't make anything without material, and we provide the most convenient location possible to get materials for your projects.
The days of fitting a 4x8 ft sheet of plywood into the back of your (or your friends) car are no more!
Welding
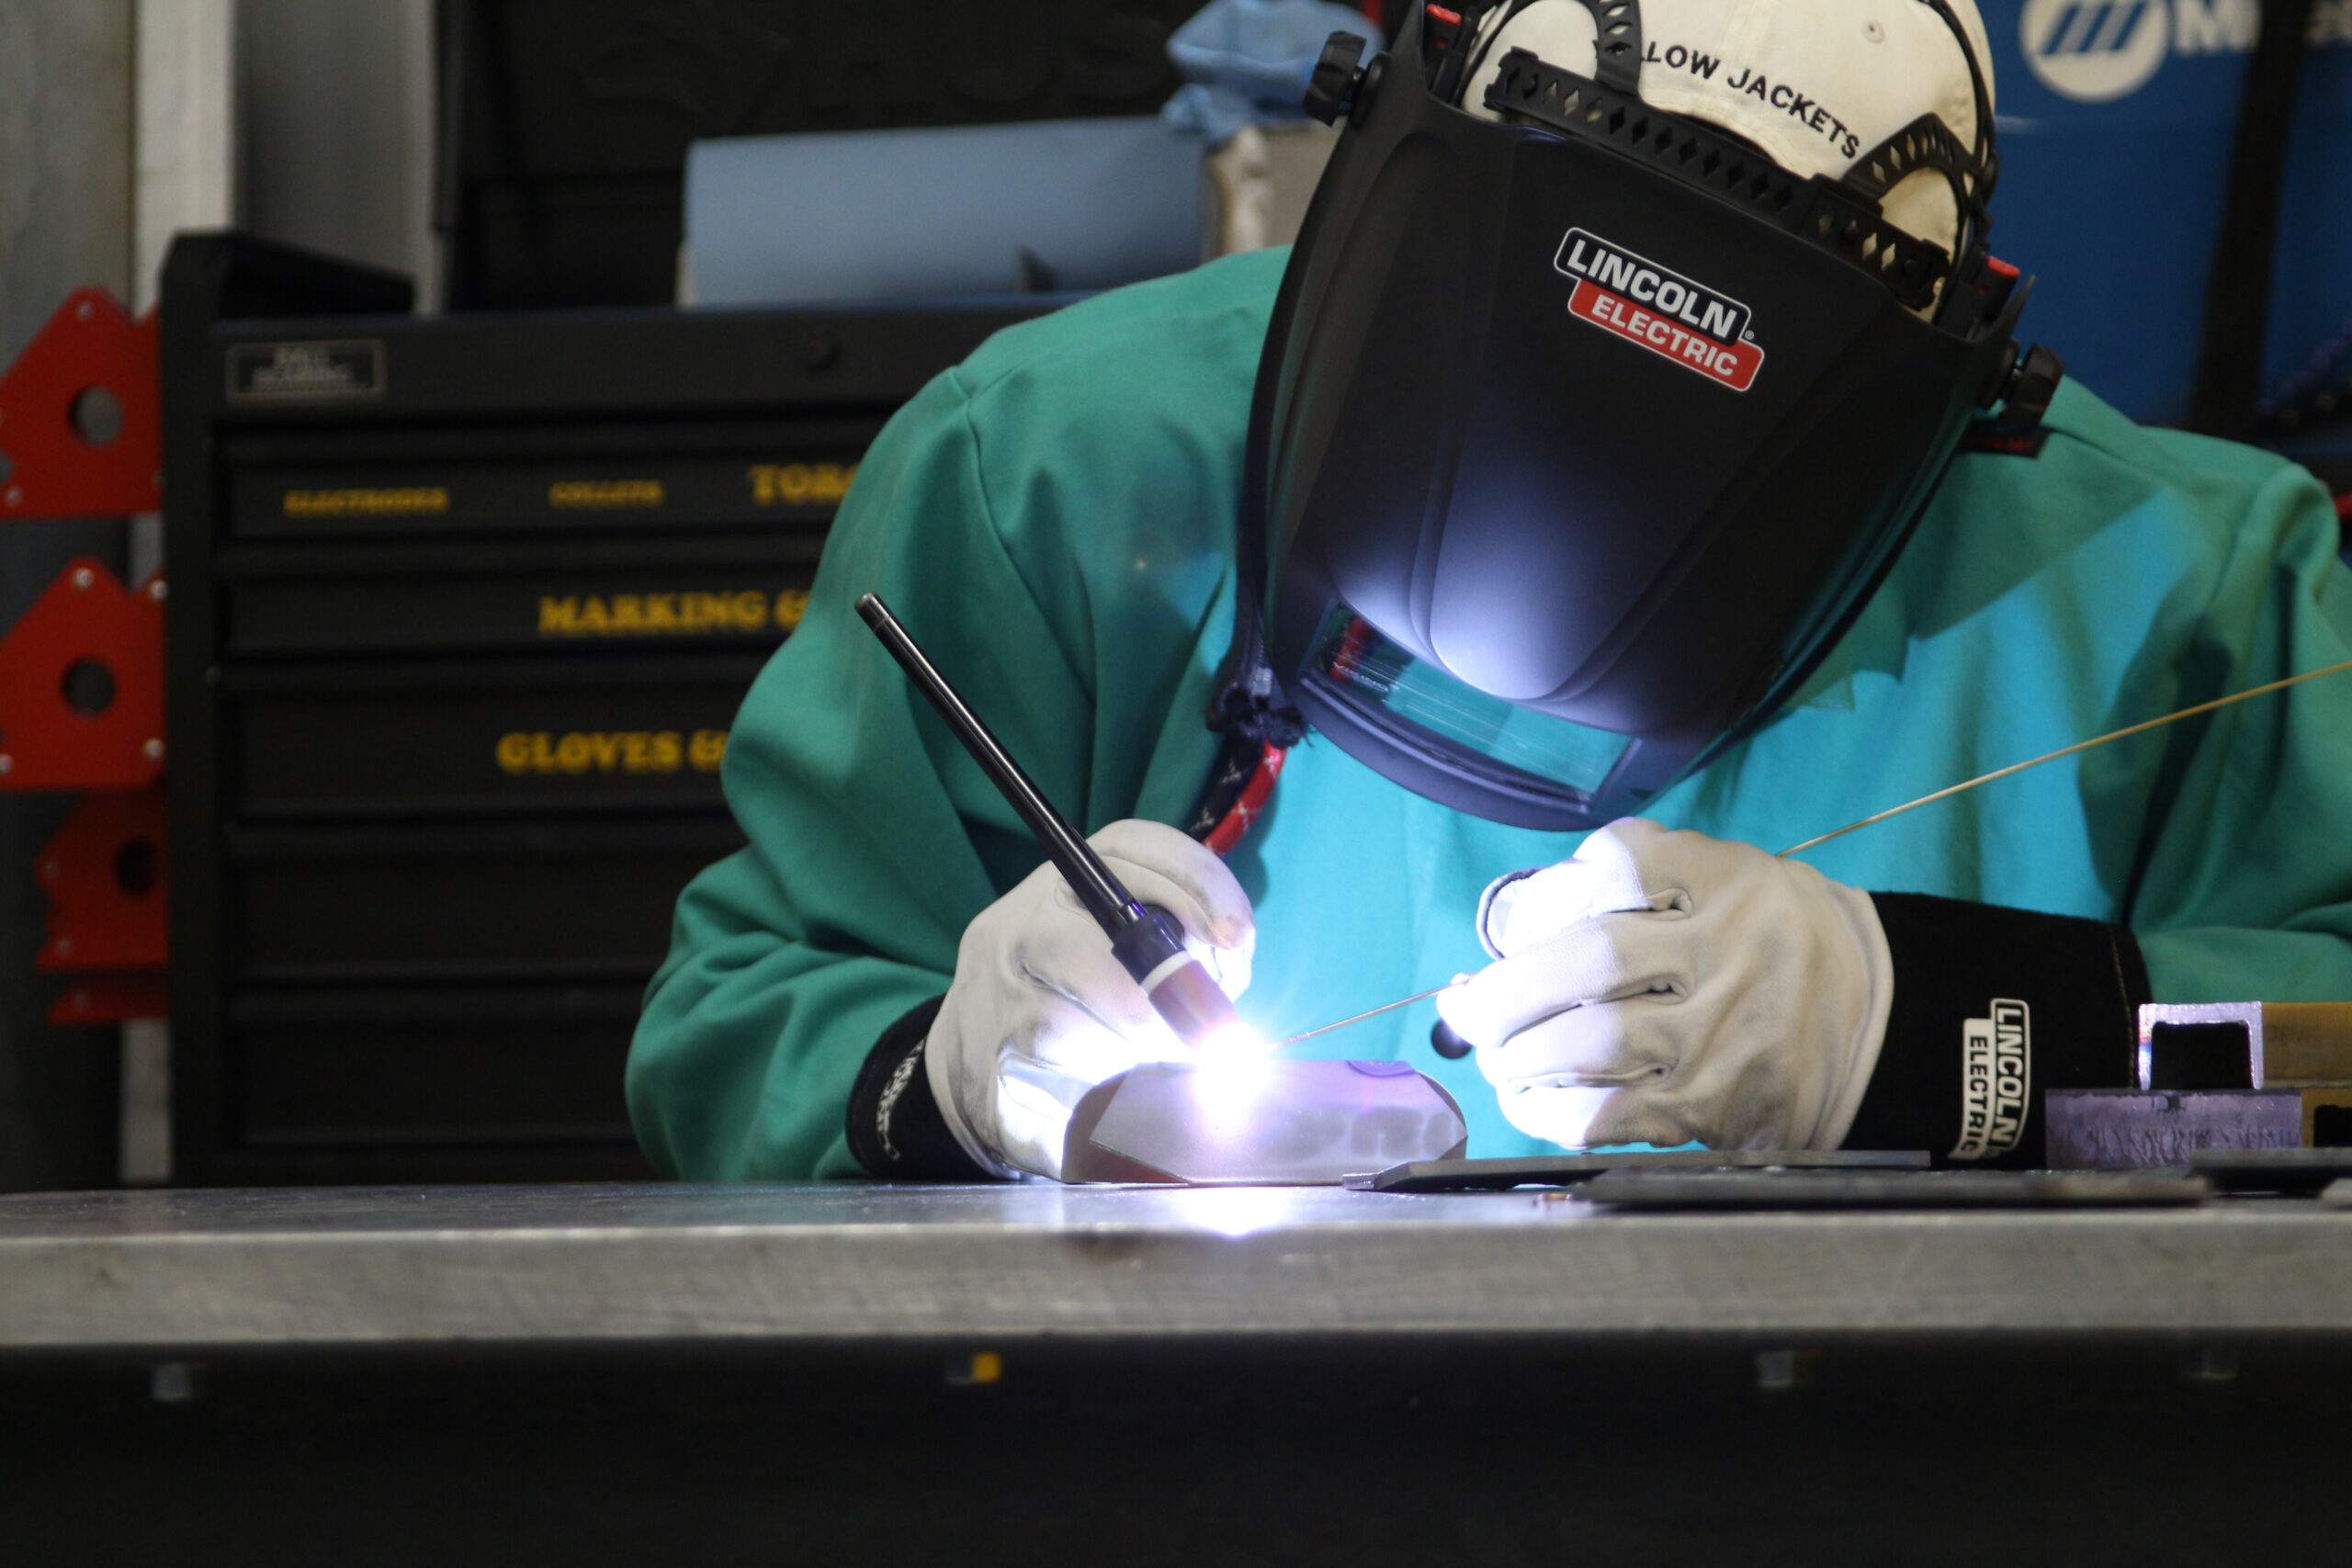
Come use our Miller Dynasty 200 DX TIG Welder! The machine is located in the Montgomery Machining Mall, but it is operated by the Invention Studio.